Overcome the Windows path length limit, fix issues with linked files and avoid long browsing times by mapping a commonly used folder to a drive letter.
Matthäus Niedoba
01 Dec 2022
Updated on
01 Dec 2022
3
min read
Content
Whether you reached the path length limit on Windows by having a deep folder structure or you work in a team using Dropbox and everyone has their Dropbox folder in a different place, you can map the drive letter. This will show up next to all drives and look like an actual hard drive.
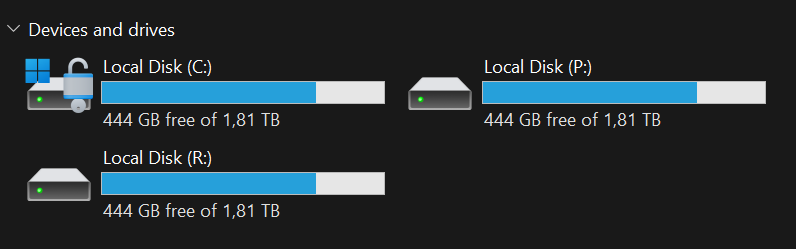
The drives “P” and “R” are mapped drives. Note that they show the exact same disc space and usage as drive “C”
Useful utilities for your workflow
Anchorpoint is an asset manager, designed for small teams that do outstanding 3D artwork. It's simple, it's affordable, and it's available.
When you don’t want to rely on other software and when you are not afraid of writing commands, you can use the Windows command prompt (CMD).
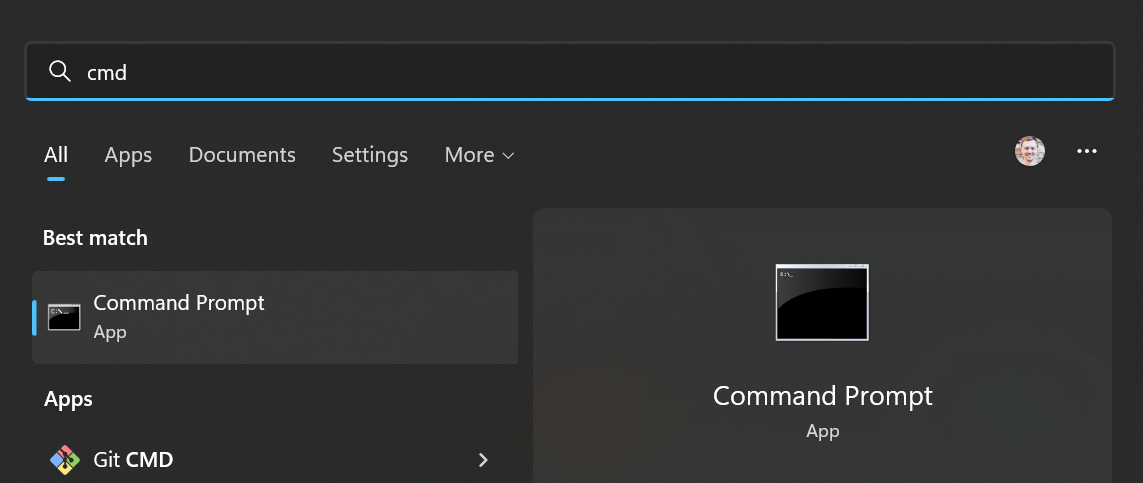
Press the Windows Key
Type CMD and press Enter
Use the Command Prompt from the Start menu
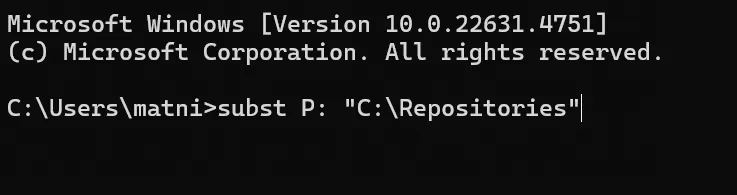
Type “subst” and press space
Type your drive letter and a “:” e.g. Z: and press space again
Drag the folder into the command prompt which you want to map as a drive
Your command should look similar to this
Press Enter
Your drive should appear in the devices and drives section
Remove the drive
You can also remove that drive by typing the following CMD command. “subst” your drive letter “:” “/D” e.g.
Remove the mapped drive
The “/D” deletes the mapped drive. It only removes the mapping and does not touch the folder.
Method 2: Anchorpoint
If you don’t want to mess with the command line, then Anchorpoint is a suitable solution for you. Anchorpoint is a collaborative file browser that is bundled with a lot of productivity utilities.
Download Anchorpoint, create an account and launch the application
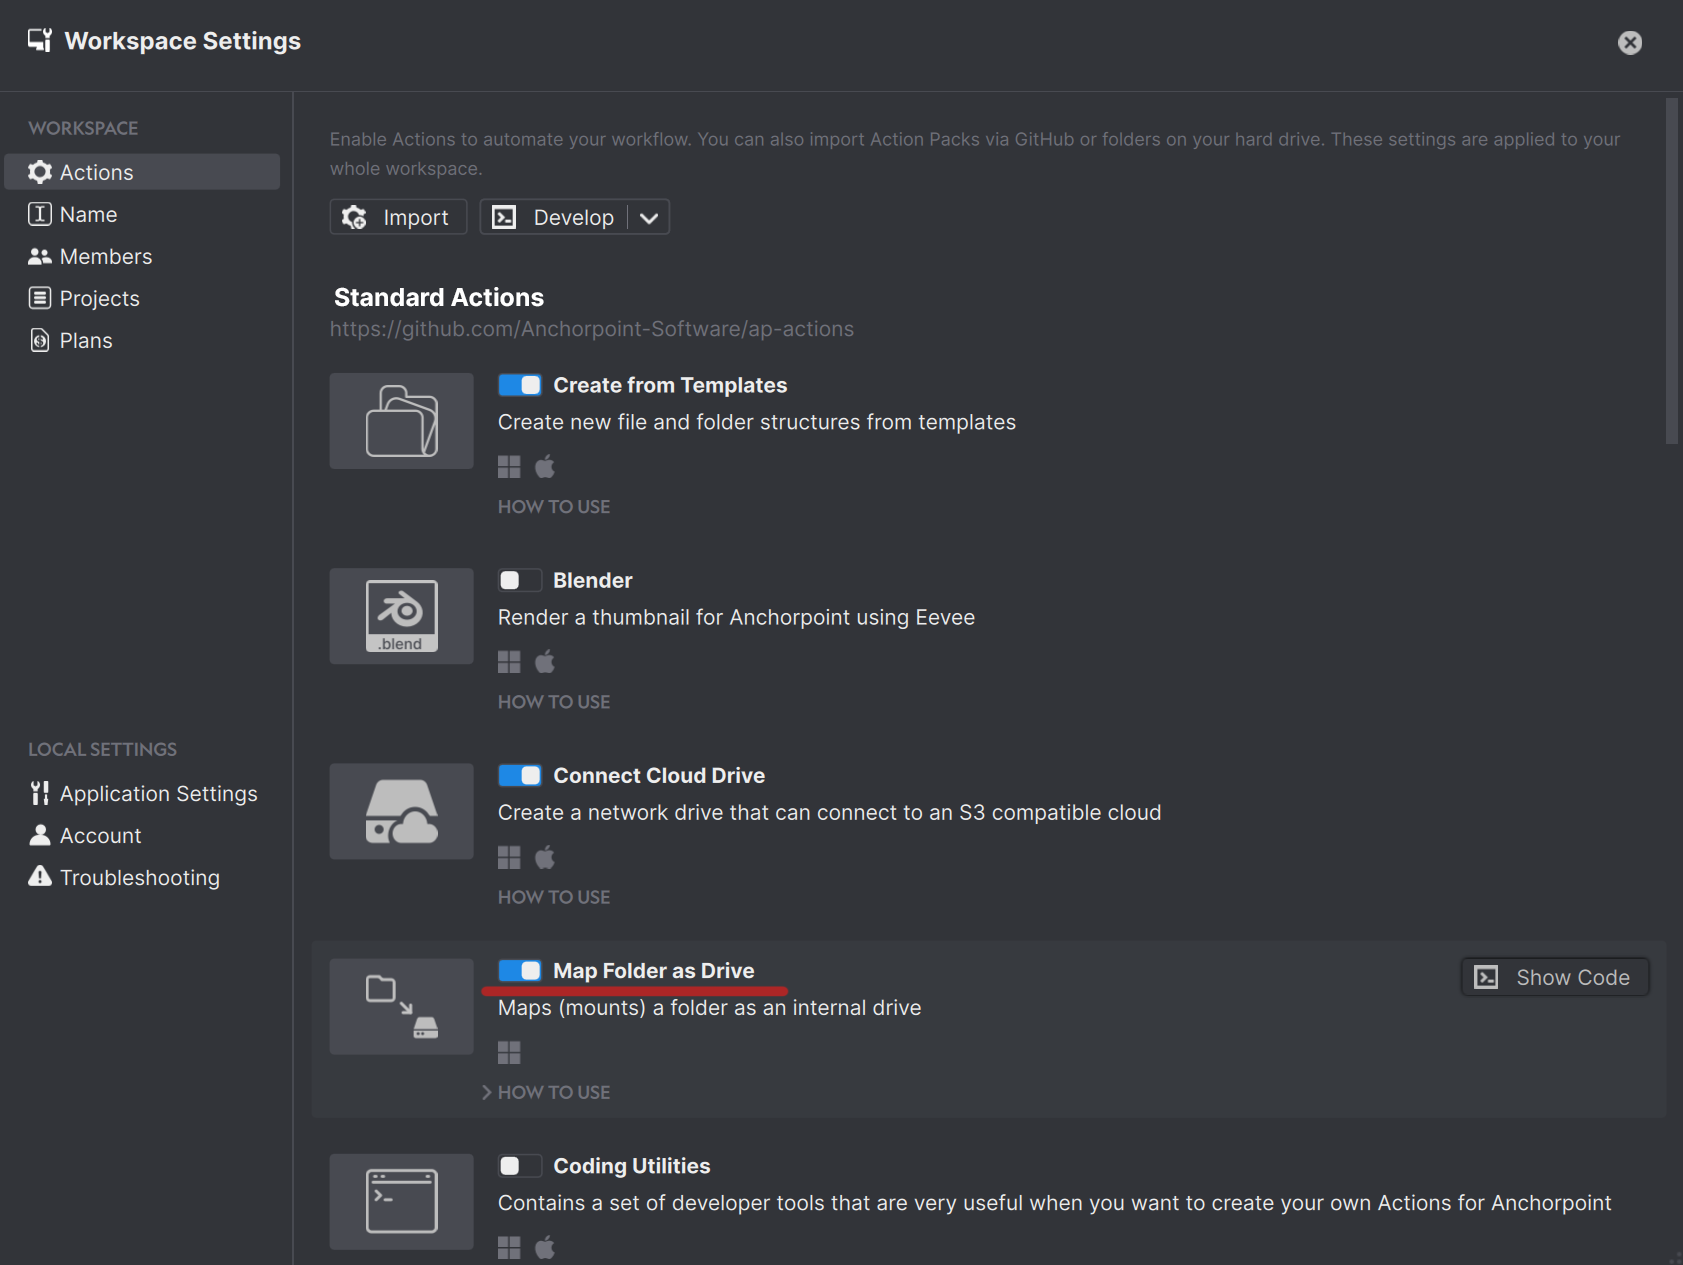
Open “Workspace Settings”
Workspace Settings in Anchorpoint
Under “Actions”, enable “Map Folder as Drive”
Actions (plugins) in Anchorpoint
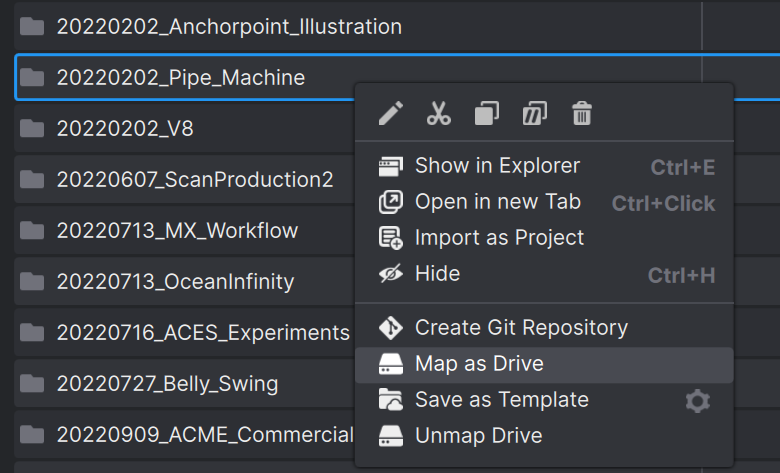
Browse to your folder
Right click and choose “Map as Drive”
Pick Map as Drive from the context menu
Pick your drive letter and press “Map”
Your drive should appear in the devices and drives section
Remove the drive
Do a right click anywhere in the browser and choose “Unmap Drive”
Pick your mapped drive and press “Unmap”
Anchorpoint uses the Windows API, so the effect is exactly the same. Drives are still being mapped when restarting the computer.