ASTOUND
How ASTOUND's digital team uses GitLab and Anchorpoint to streamline the creation process for designers working on AR/VR projects.


What makes Anchorpoint unique


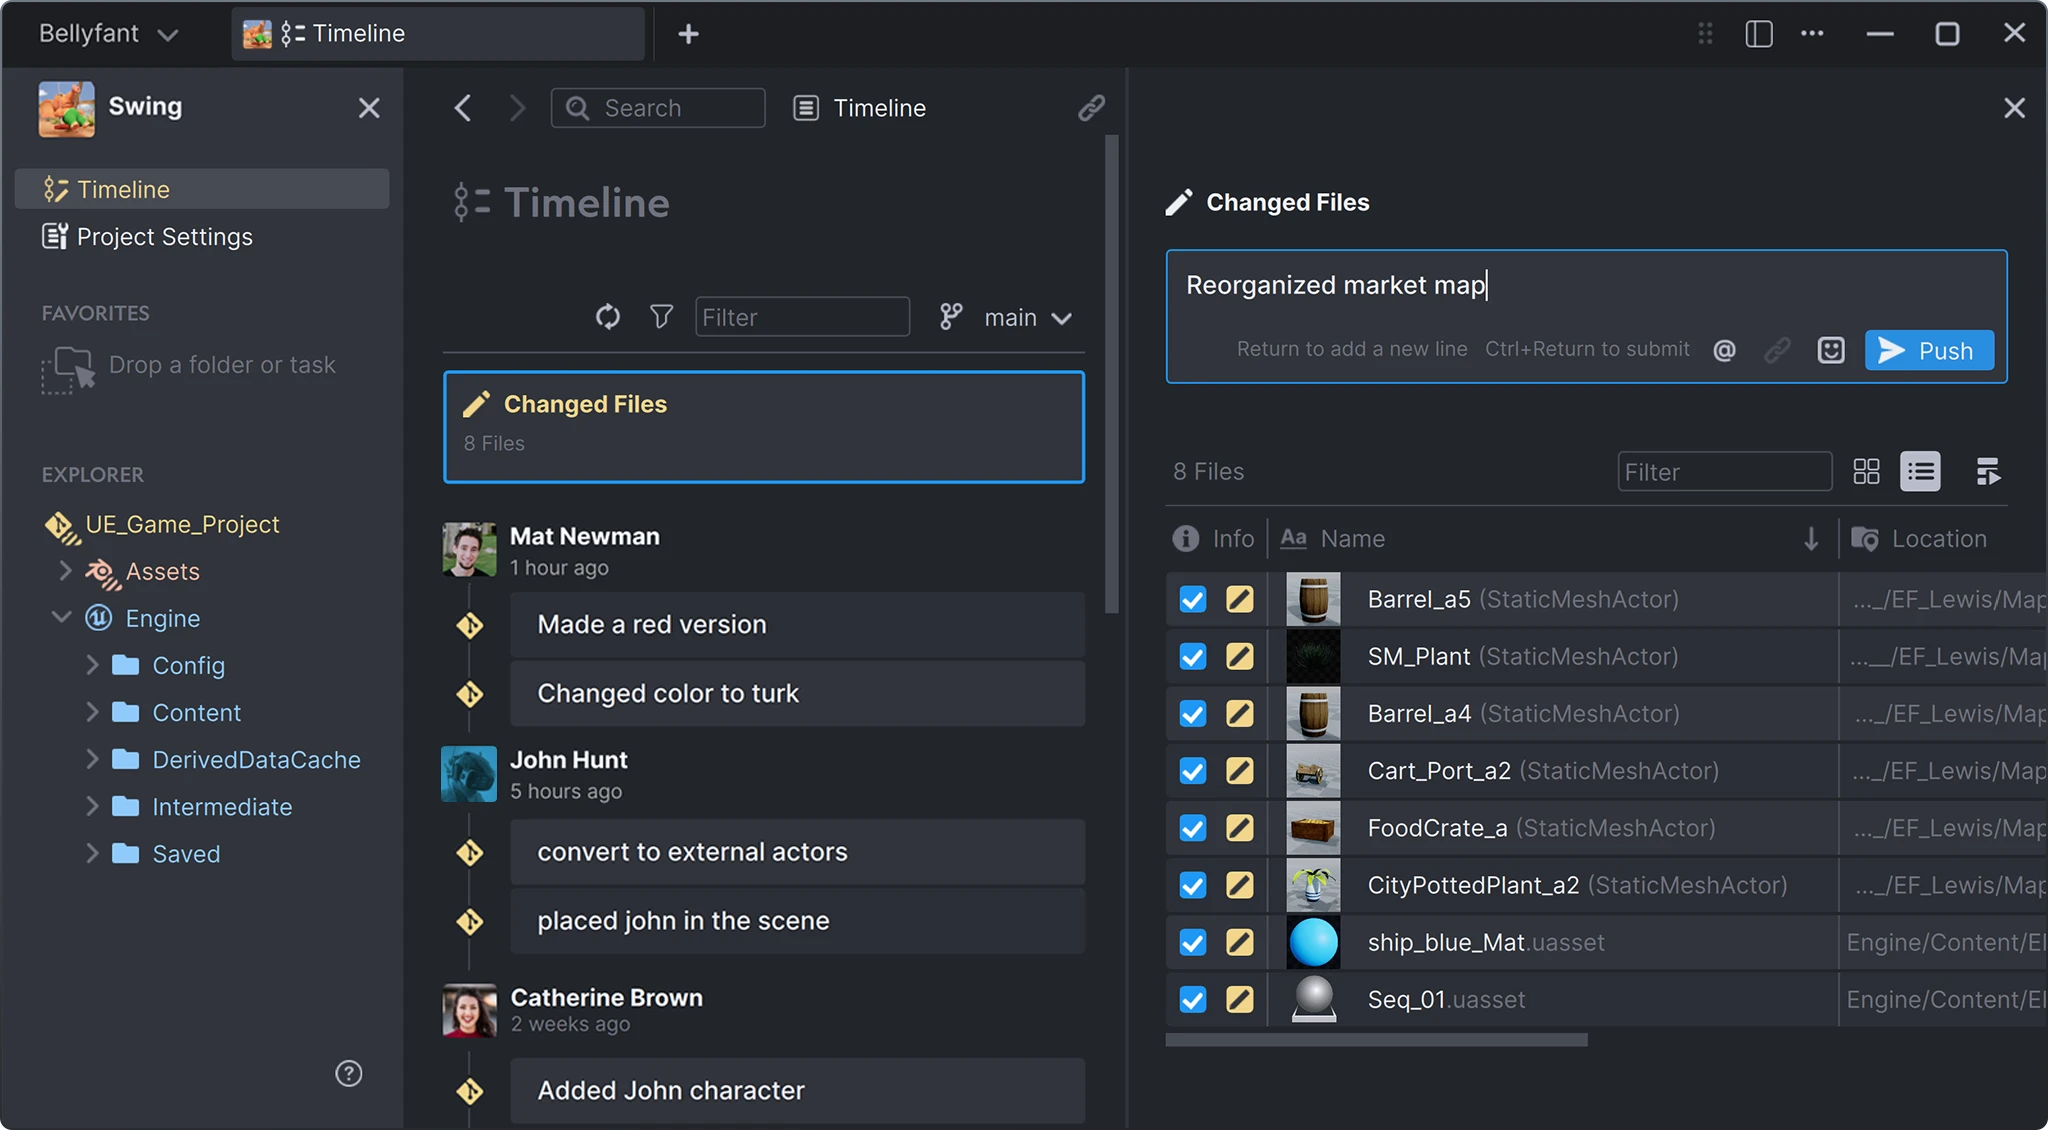
Anchorpoint is based on Git, the open source version control system is used by 93% of developers all over the world.
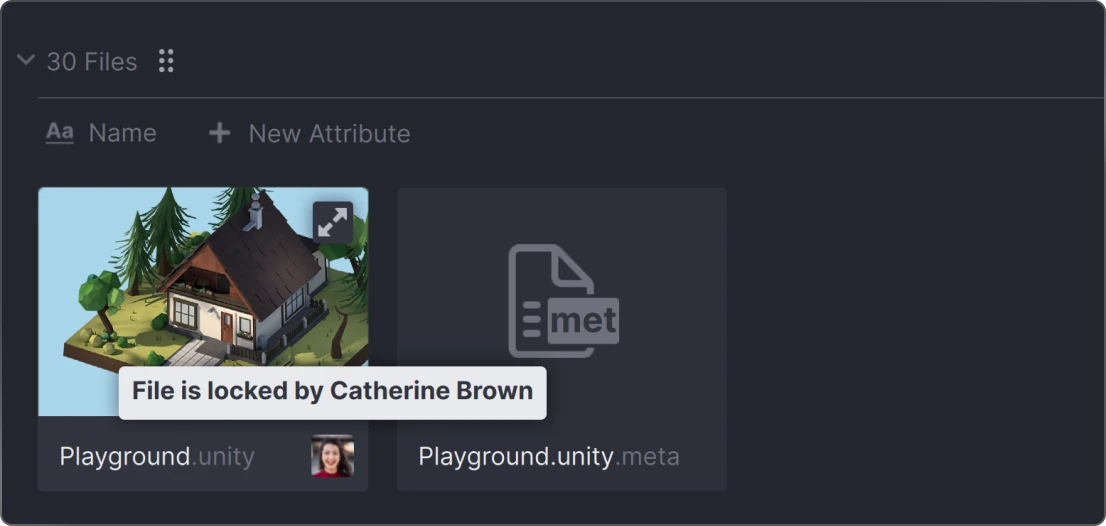
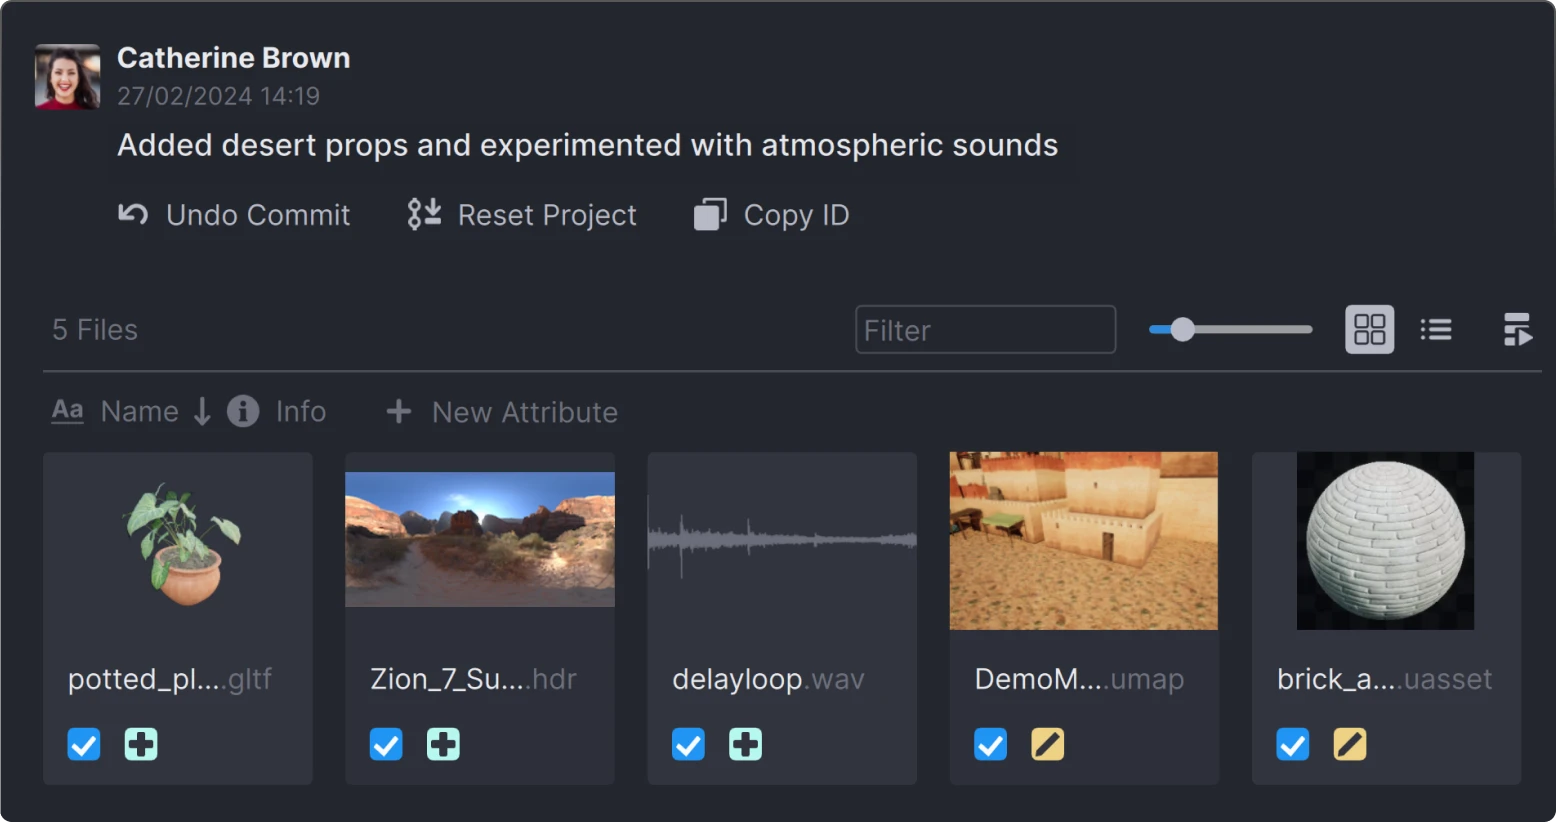


Anchorpoint can be used with any cloud service, 3D software and game engine.


Learn more about integrations
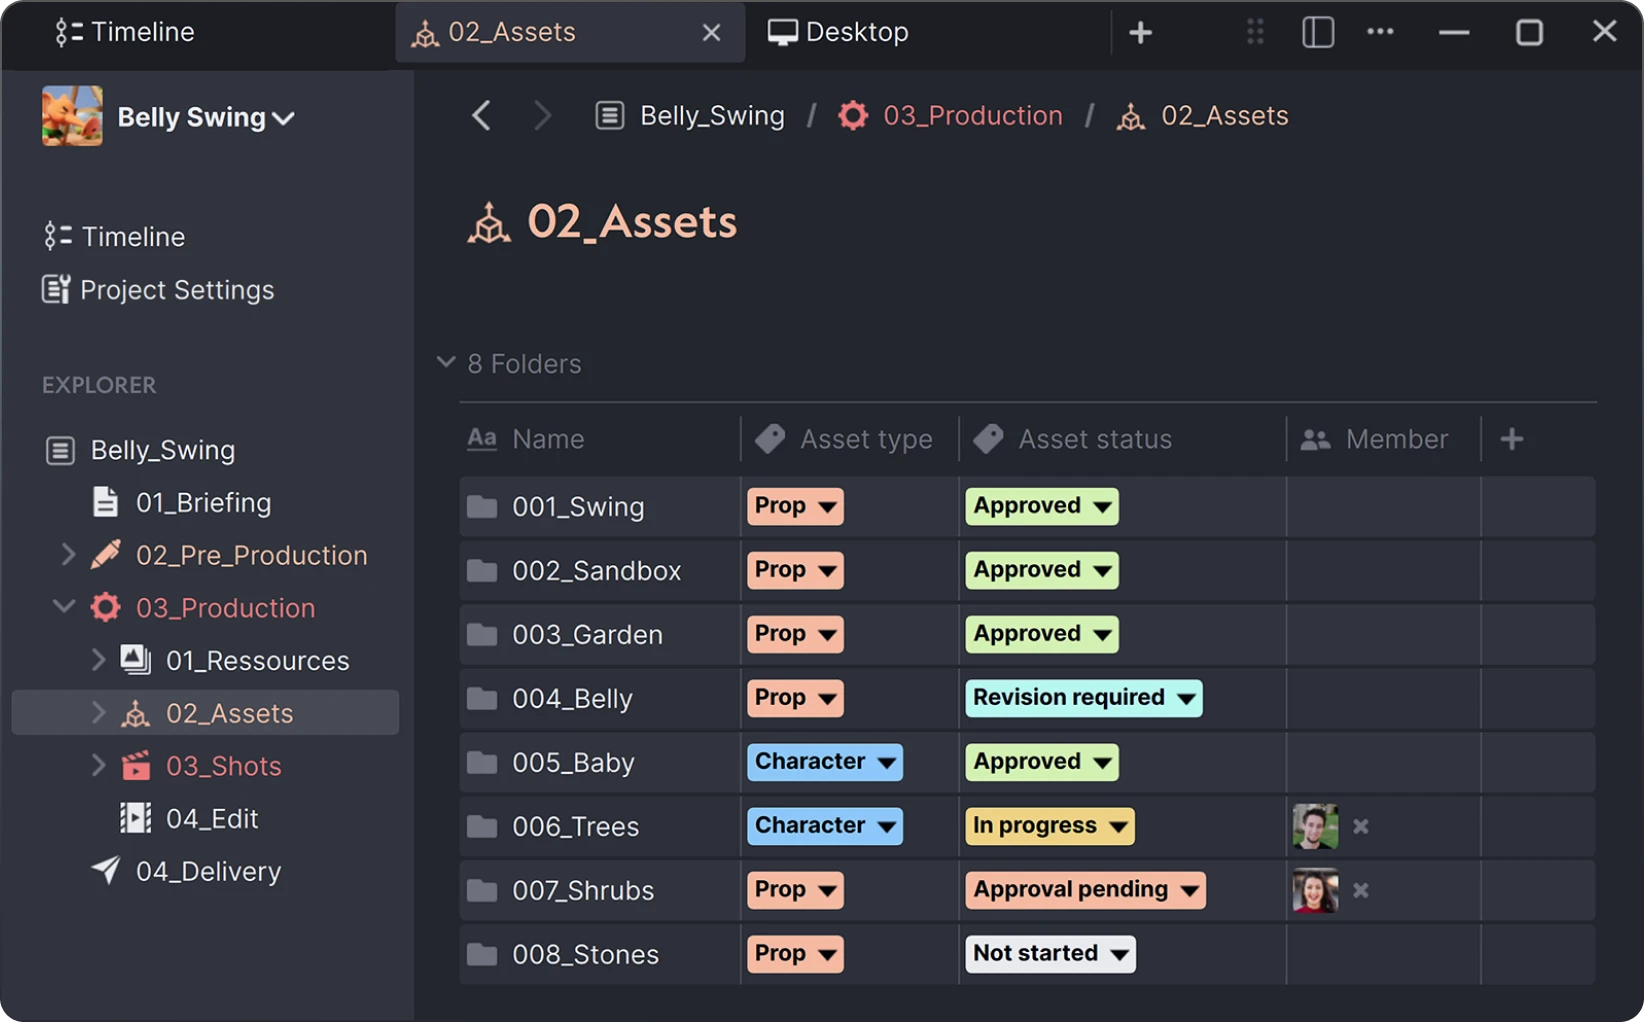
Learn how studios, agencies and design firms use Anchorpoint to collaborate more efficiently on real-time projects.
Read all stories