How to set up a local Git server on Windows in 10 minutes using Gitea
A quick guide on how to set up a Git server on Windows for a game development project with a few clicks. We will use Gitea, which is a self hosted GitHub alternative.
Matthäus Niedoba
02 May 2024
Updated on
02 May 2024
7
min read
Content
In this guide, we will set up a local Git server on a Windows machine using Gitea. Gitea is an open source alternative to GitHub and can be hosted on different environments. If you want to set up a Gitea server on a NAS using Docker, take a look at this guide. We also have a guide how to set up Gitea on a cloud provider.
Our use case is an Unreal Engine project that needs to be done in a tight network setup with no need for outside access. The Windows machine needs enough disk space to hold the entire version history of the project. It also needs to be accessible on the local network.
Setting up Gitea
This process is straightforward and will only take you a few minutes, since the default configuration of Gitea is good enough for our case.
Go to the website of Gitea and download the version for Windows.
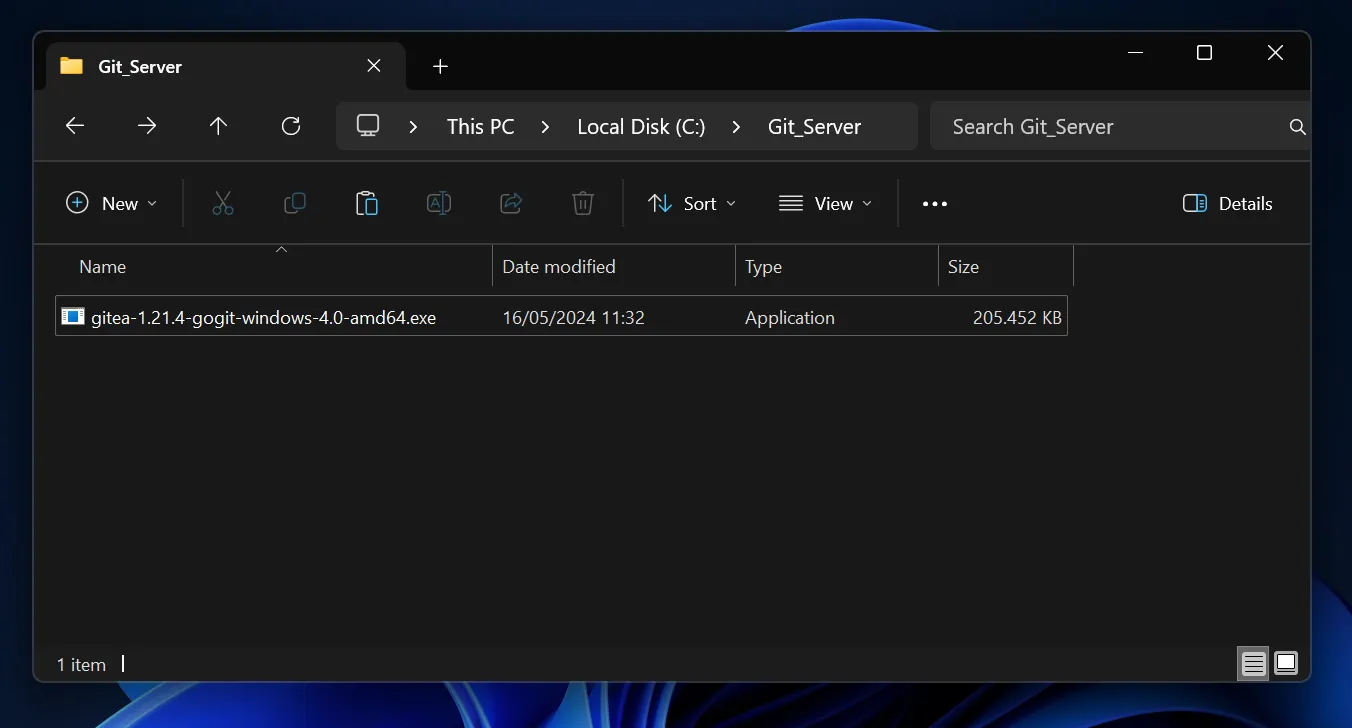
Create a folder on your Windows machine, where all the content will be located. This includes all the files, the database and the Gitea server. In the next step, move your executable that you have downloaded into that folder.
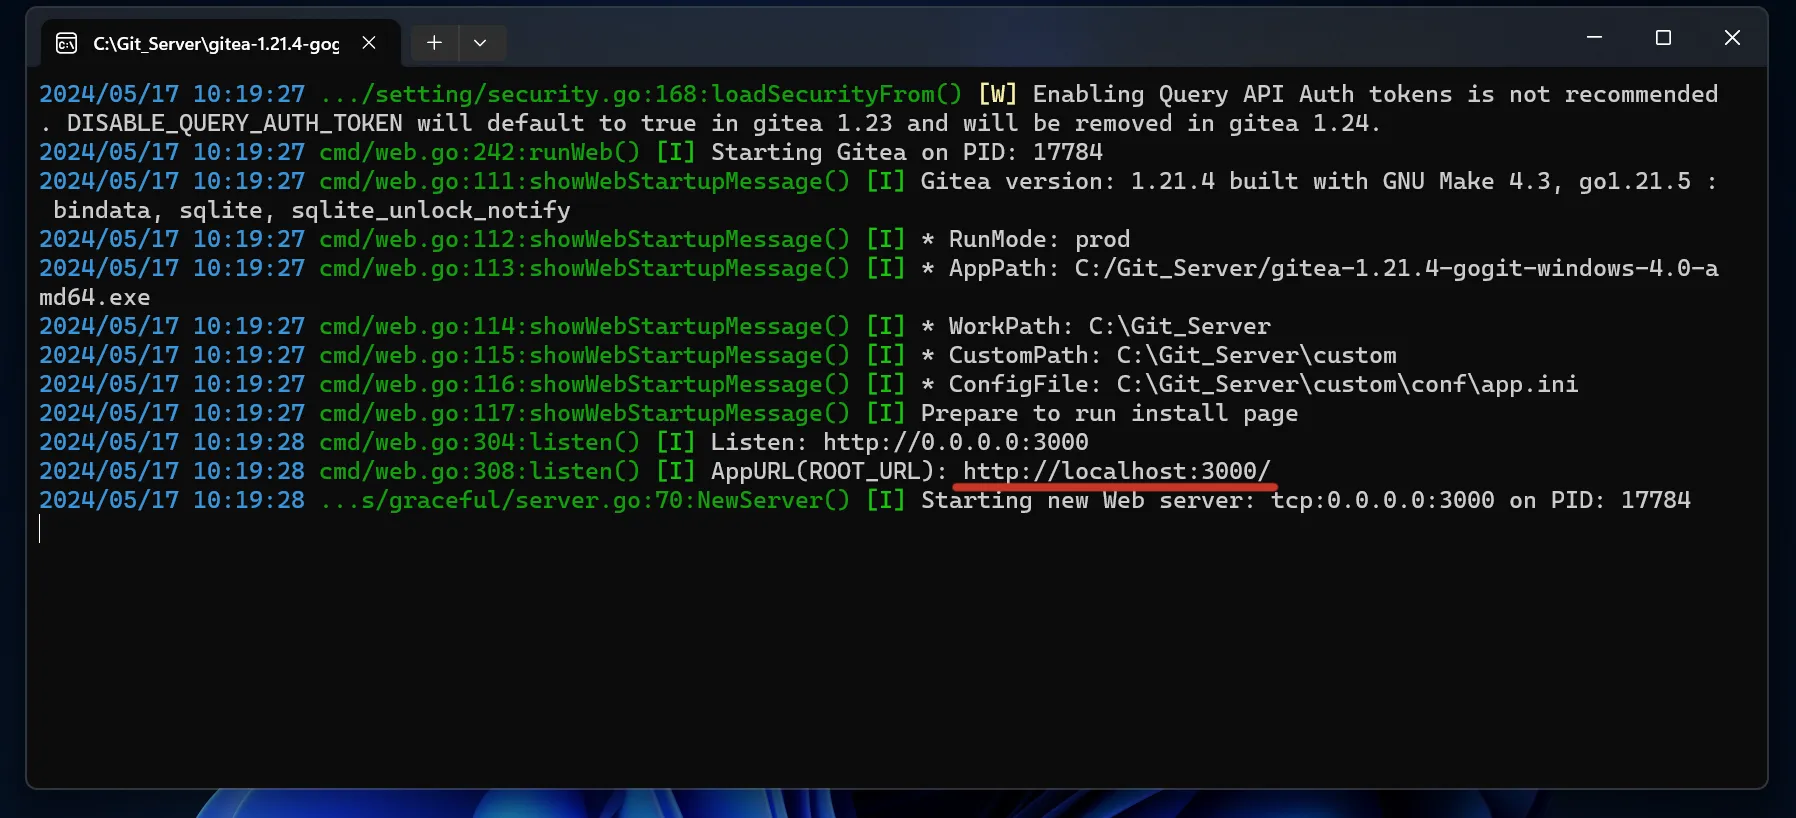
Run the executable file. This will open a command line application. Ctrl-click to open your web browser on the localhost page.
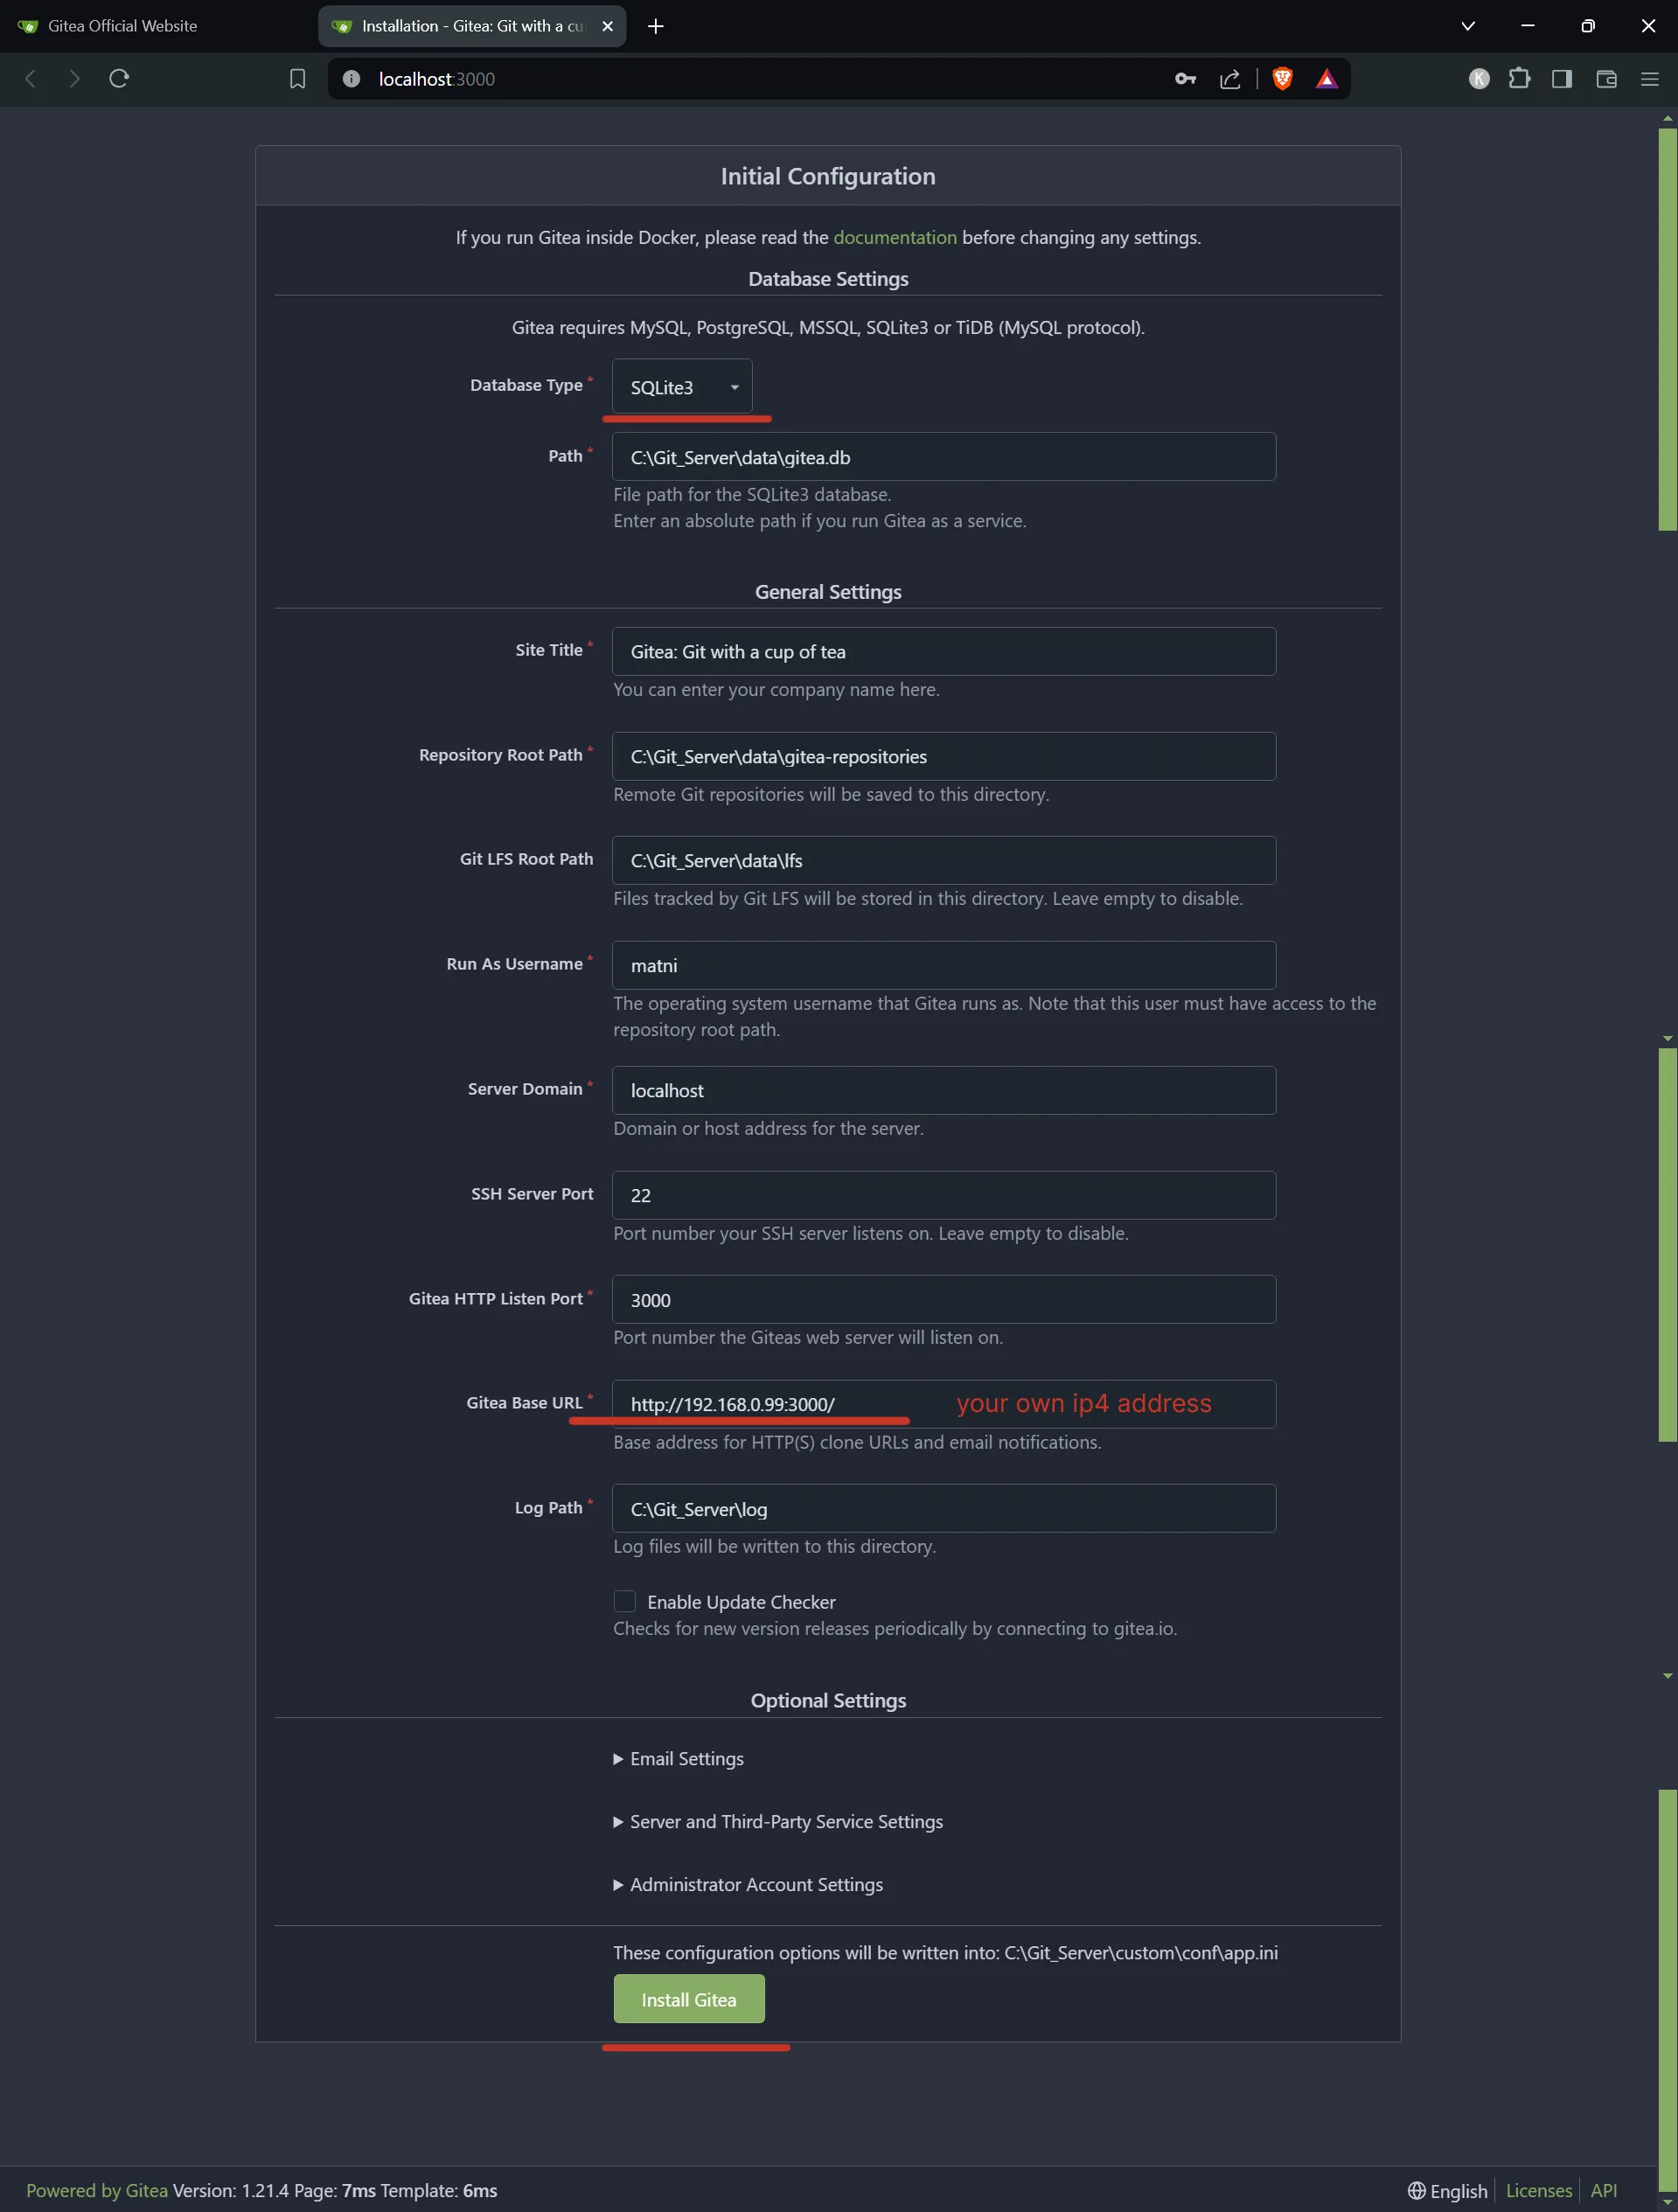
For the database type, choose "SQLite3" because it will create a new database without any configuration. For your Gitea base URL, enter your IP address instead of localhost. This is necessary to make the server reachable from other computers in your network. Then click on "Install Gitea" and wait until you are at the login screen.
How do I know my IP address?
On Windows, you have to follow these 3 steps:
Press the Win Key and in the search bar, type in "CMD" and press enter. This will open the Windows command line
In the CMD, type in "ipconfig" and press Enter
Search for your ethernet adapter entry and your "IPv4 Address". It should be something like "192.168.0.11"
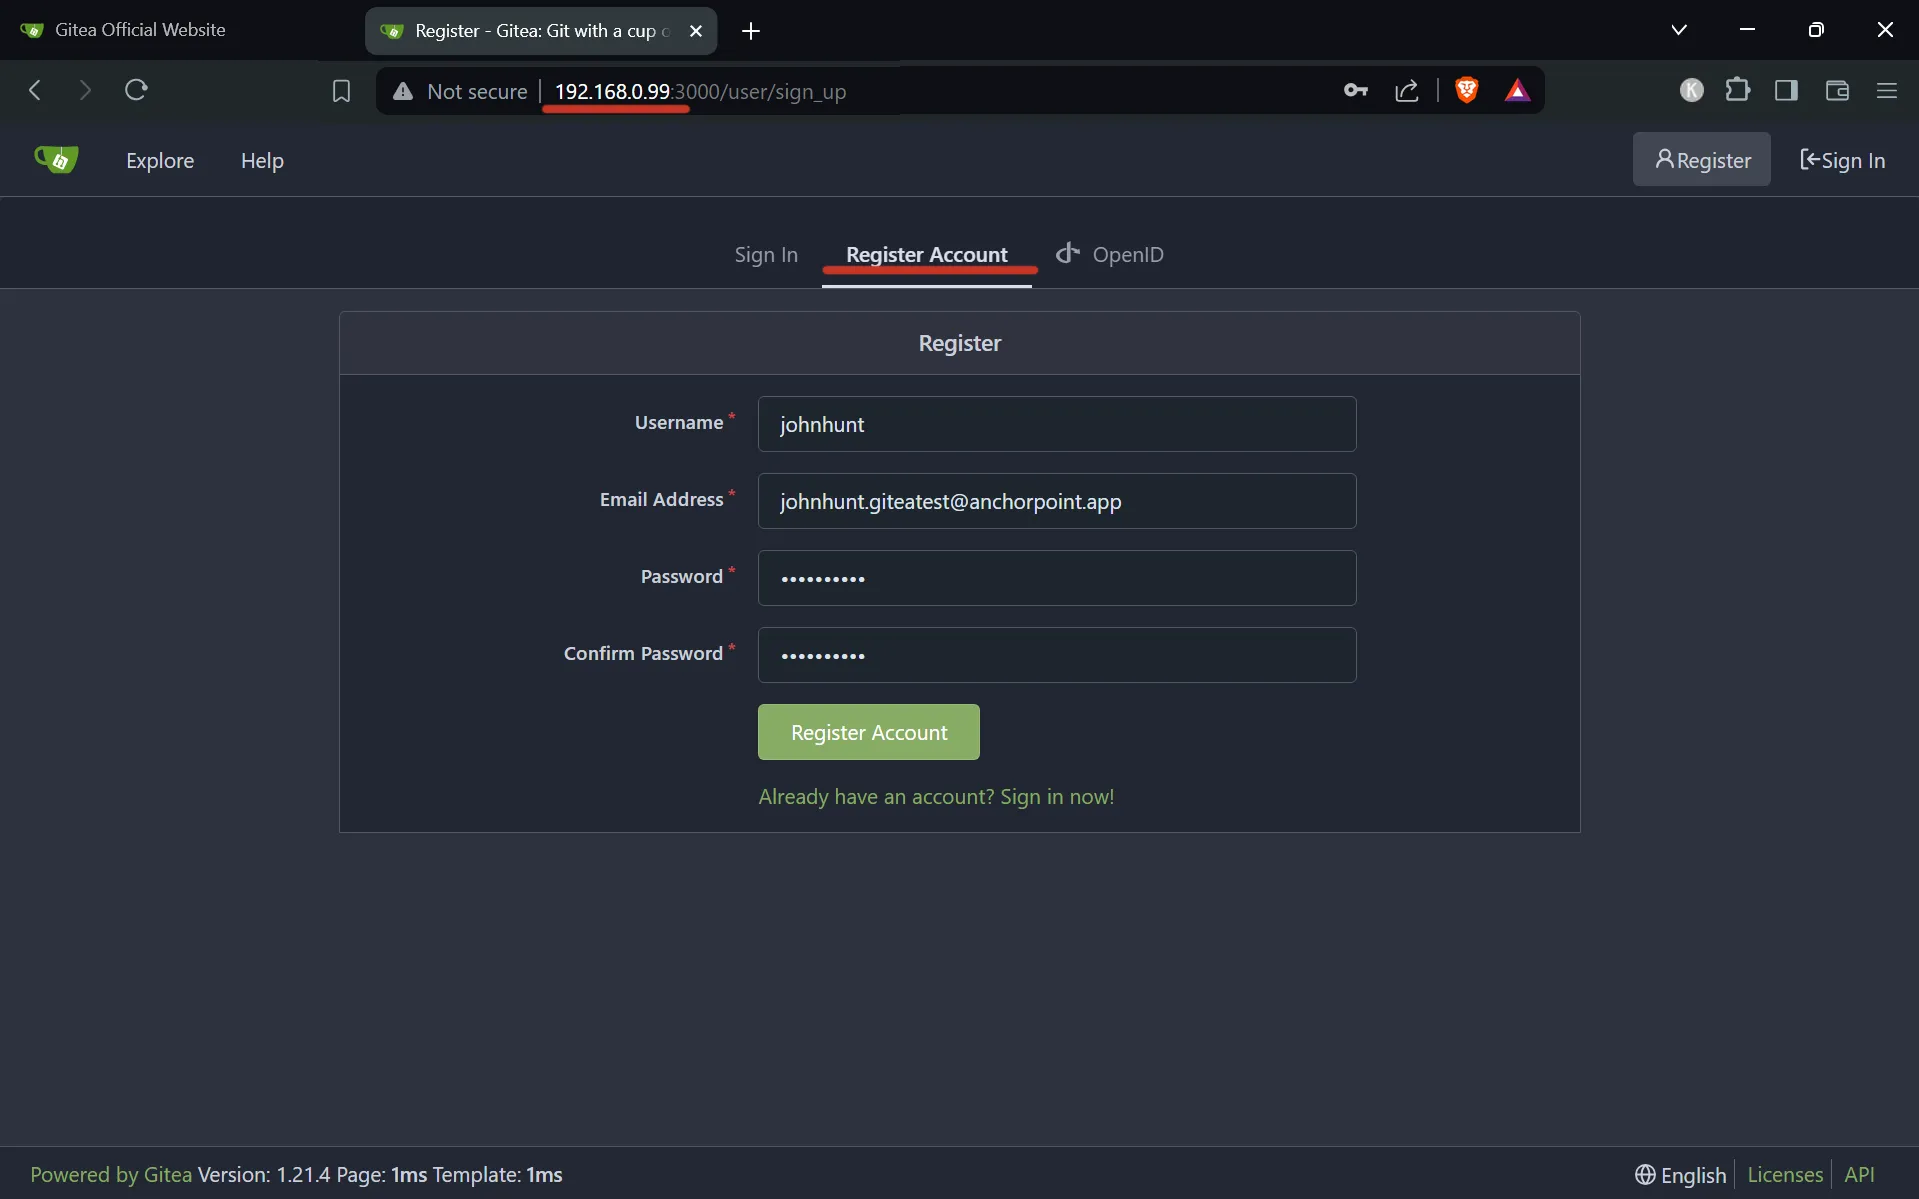
You should arrive at the login screen with "localhost" in your URL in your browser. Replace this with your IP and port e.g. "192.168.0.99:3000". Then click on the"Register Account" tab, create a new account and click on the "Register Account" button
Add other users to your Git server
In this step we will add user accounts for our collaborators.
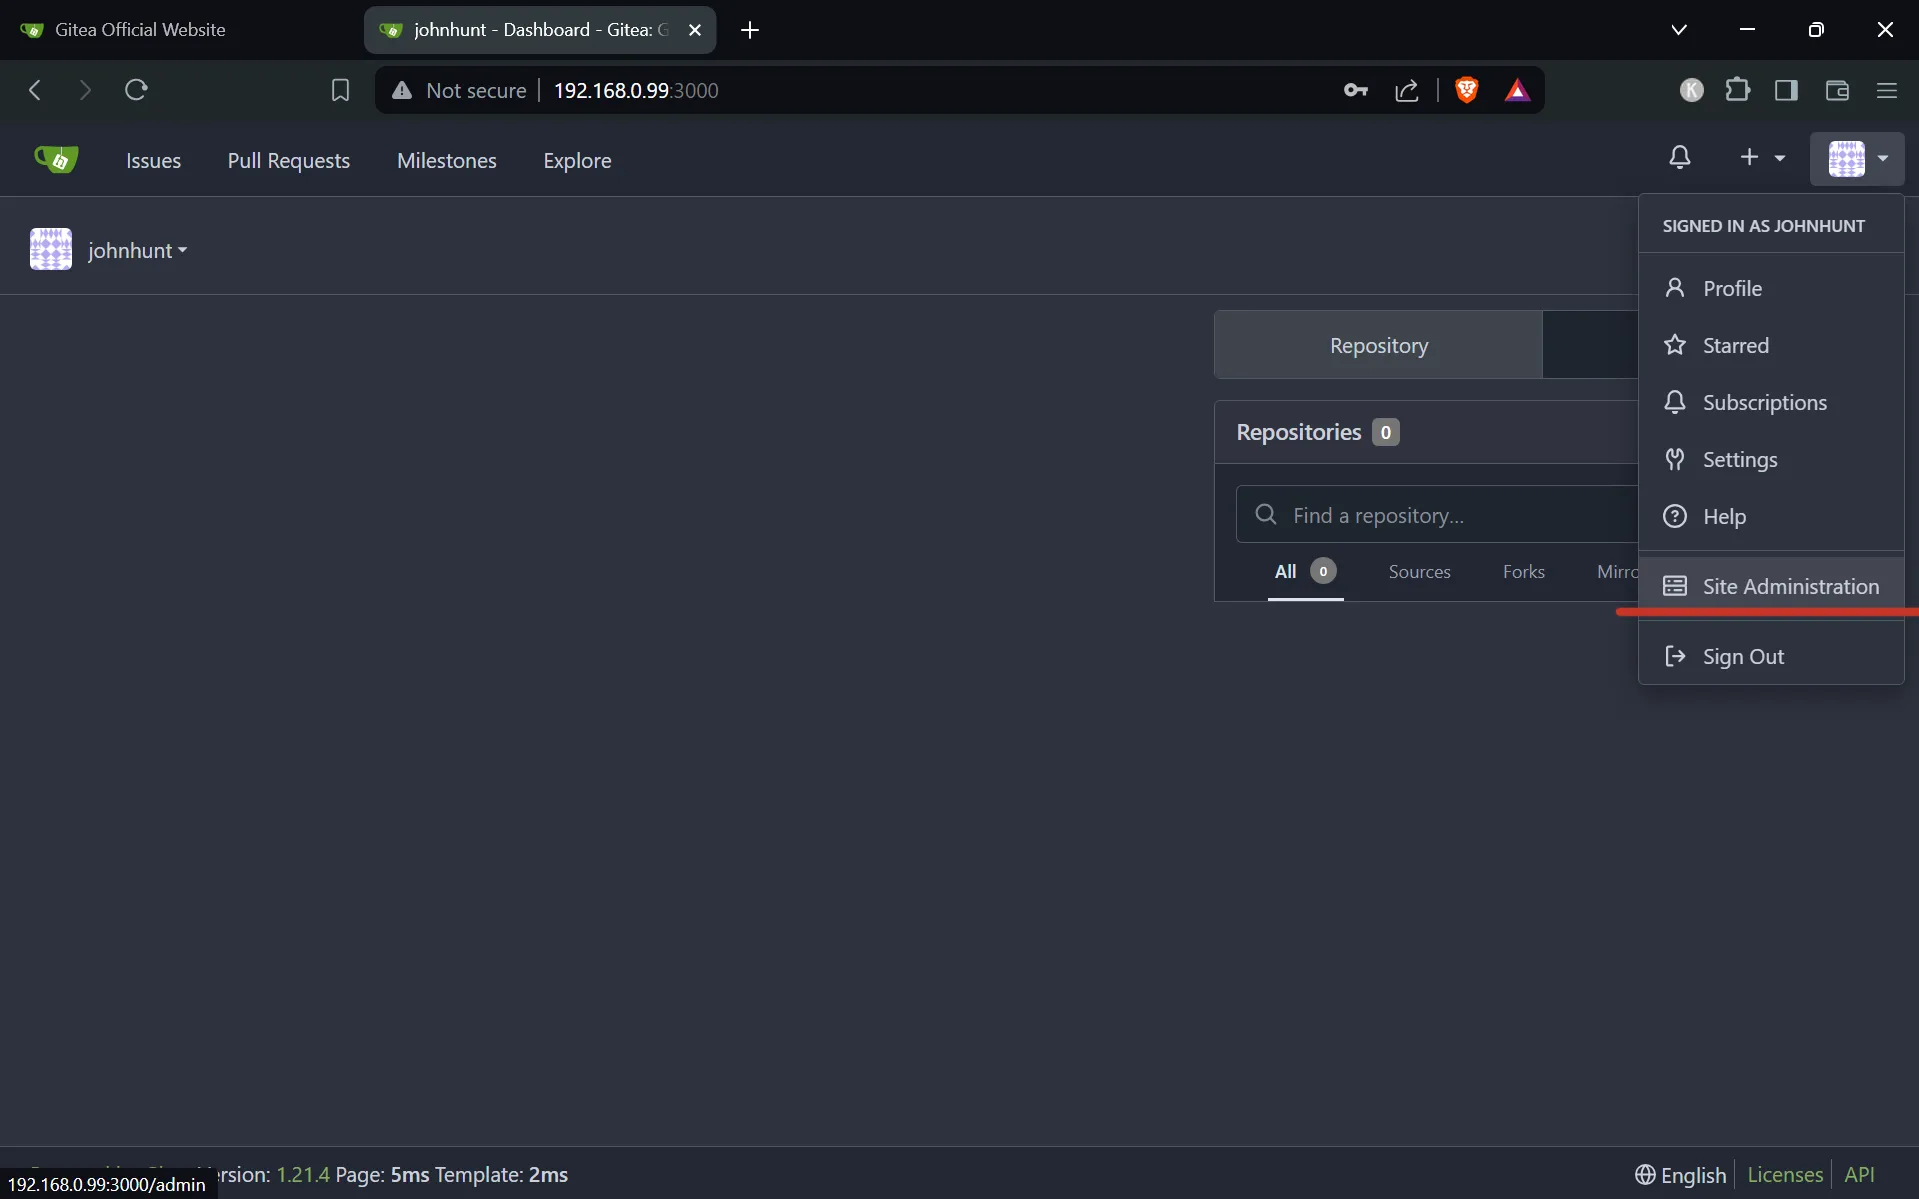
Click your profile icon and then click "Site Administration".
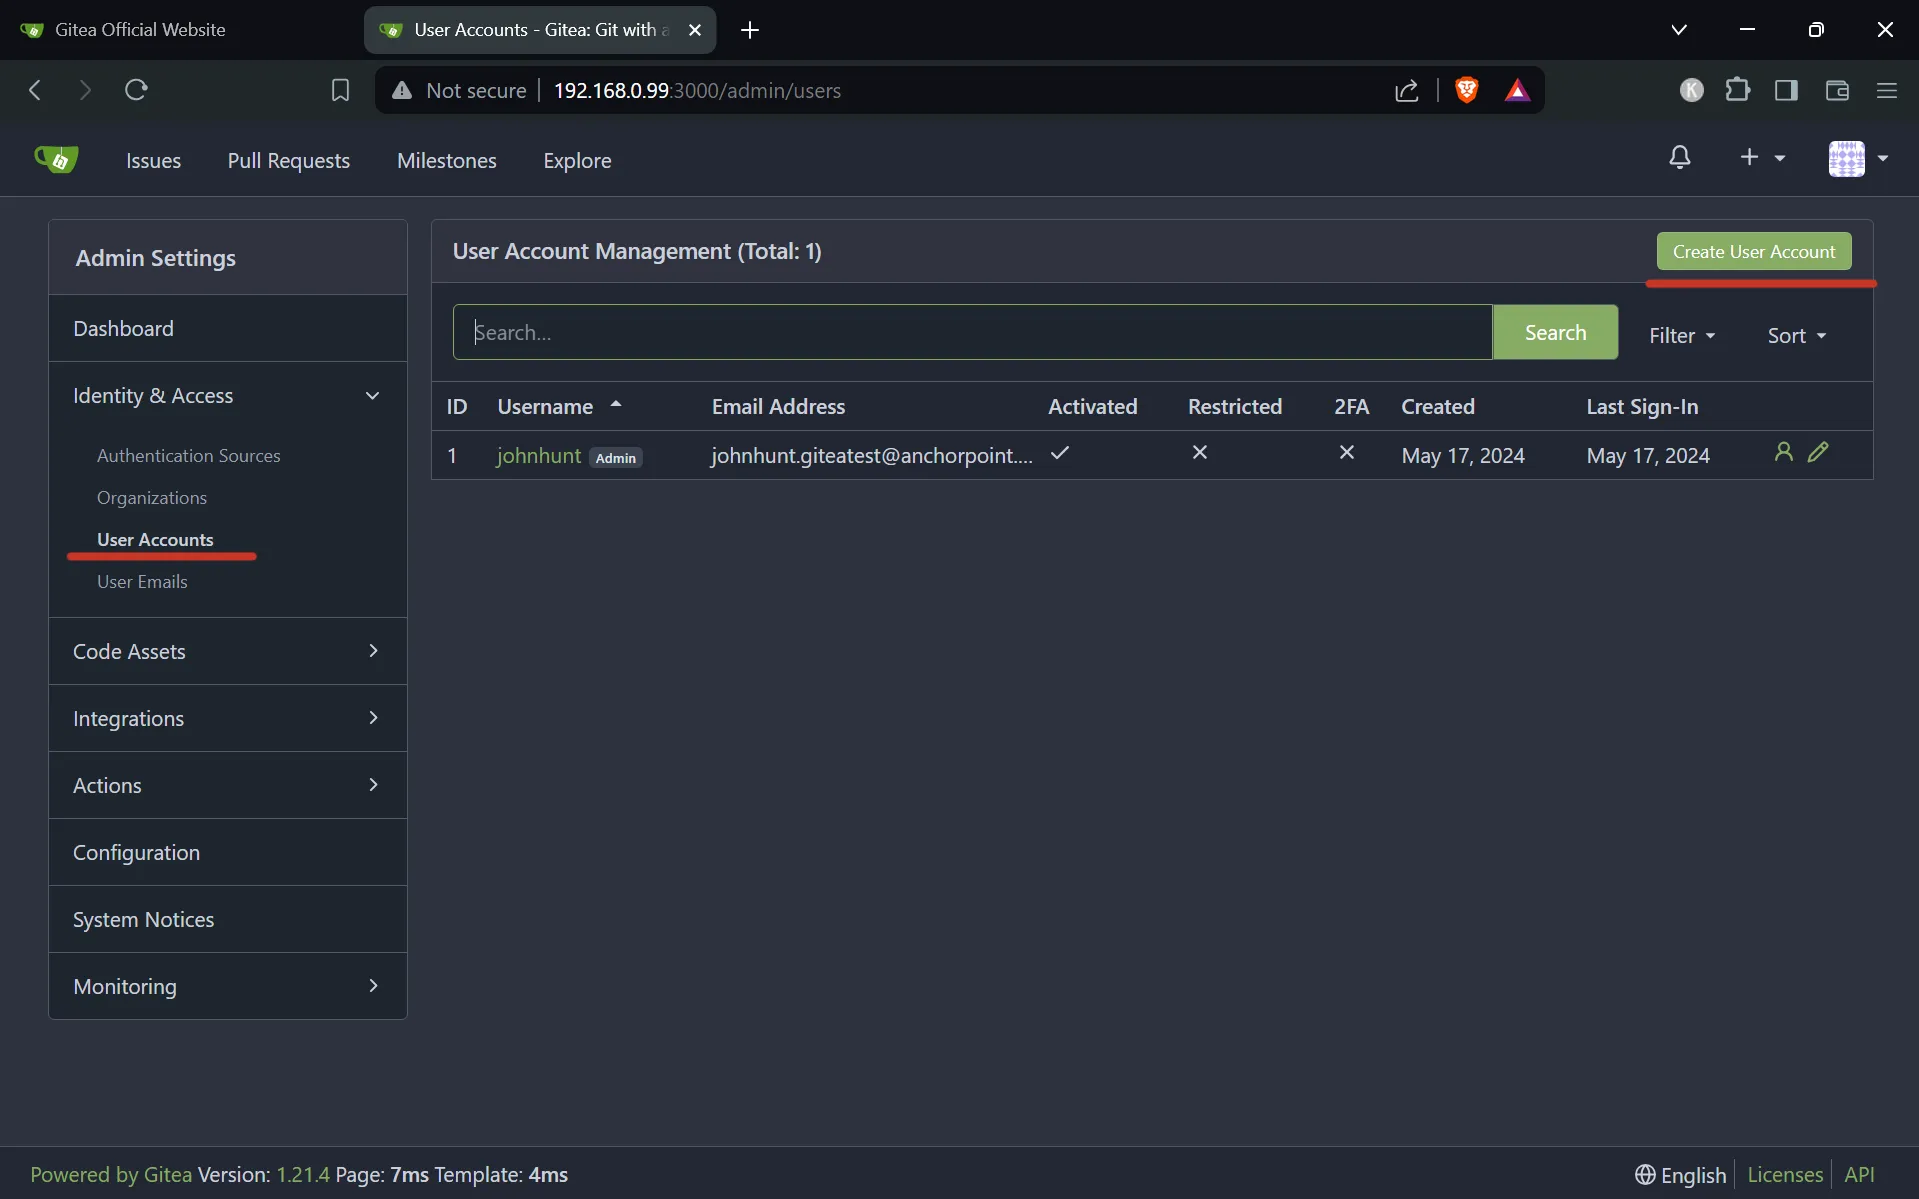
Under "Identity & Access", click "User Accounts", then click "Create User Account".
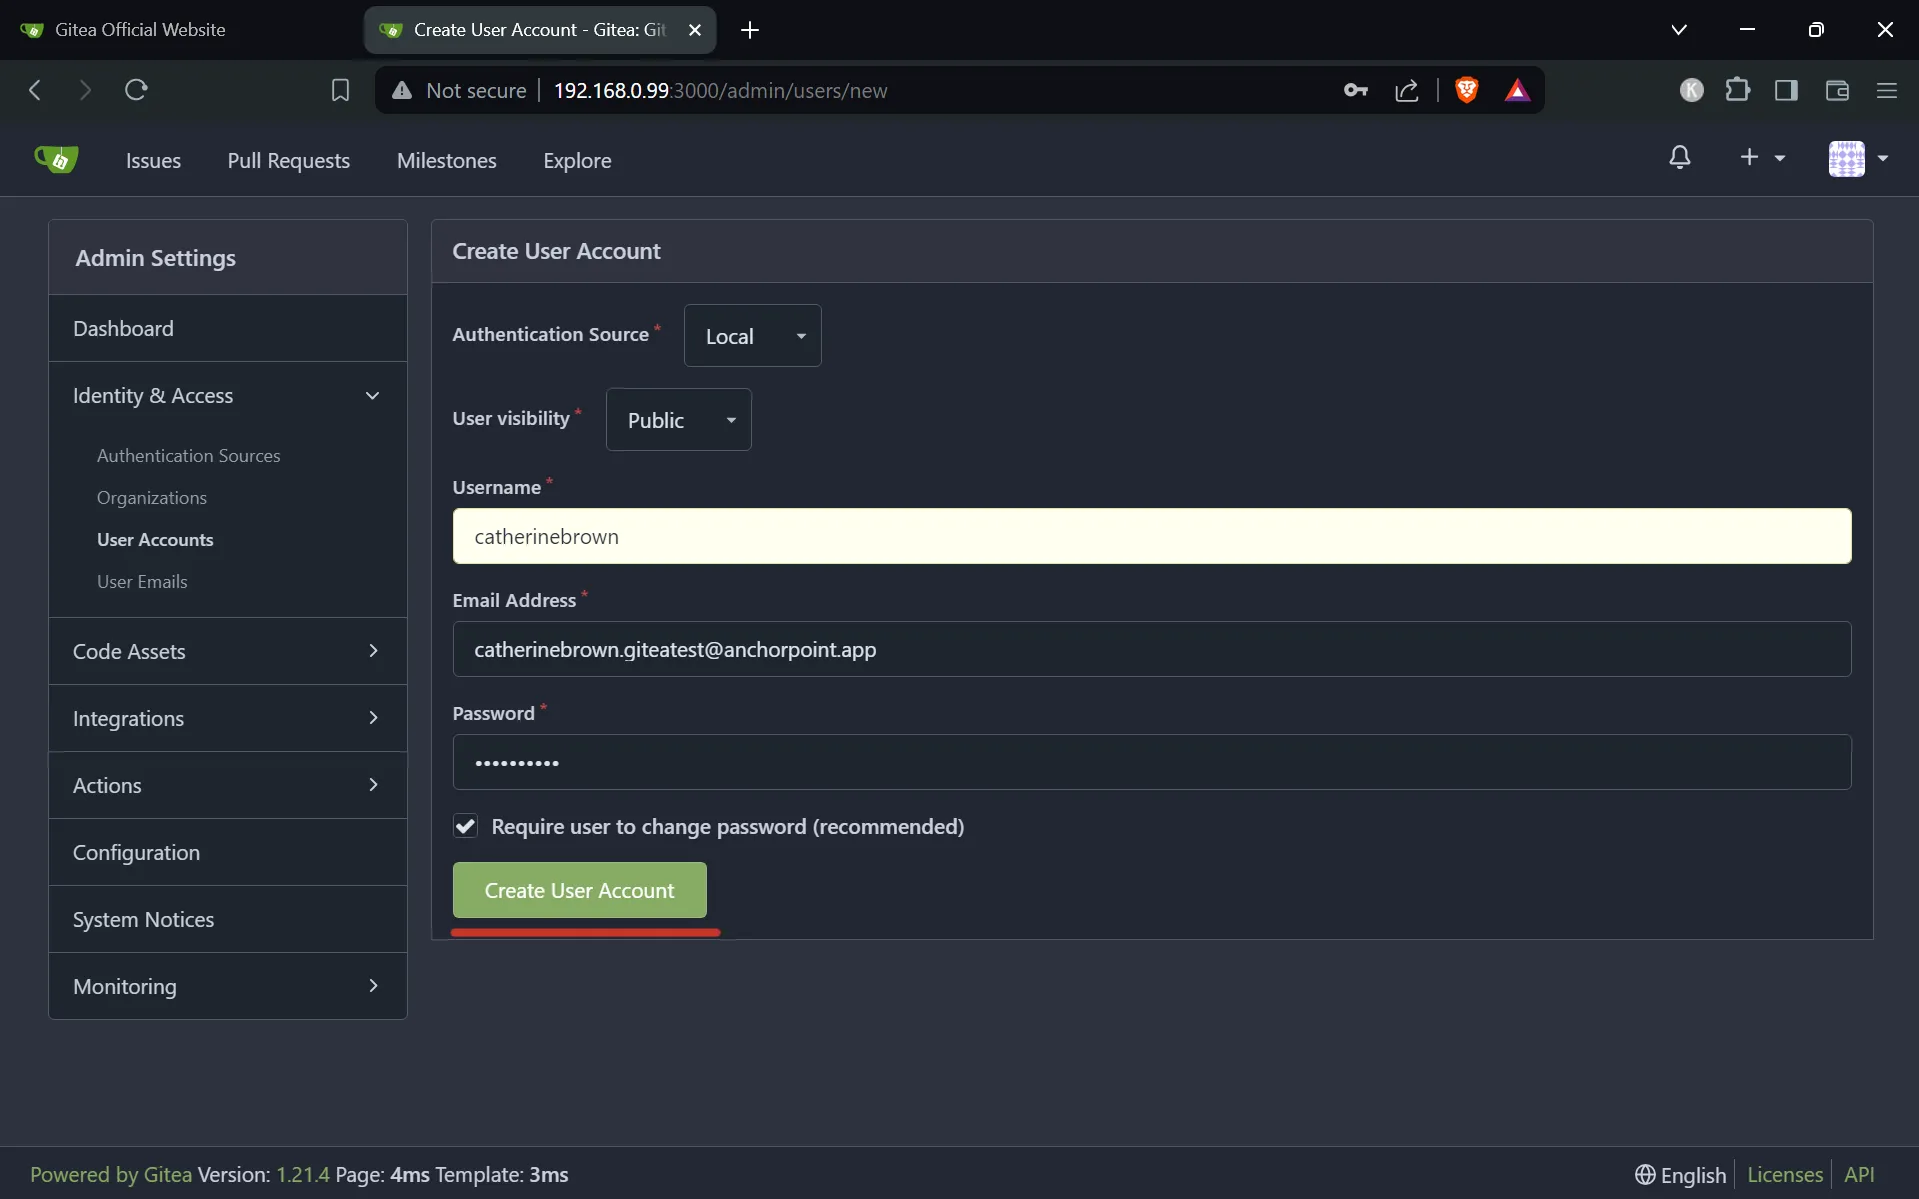
Add your user with a username, email, and password. The email will only serve as a login to our Git server.
Create a repository and add members
Now, we will create a new repository and add our newly created user to give her access to the repository.
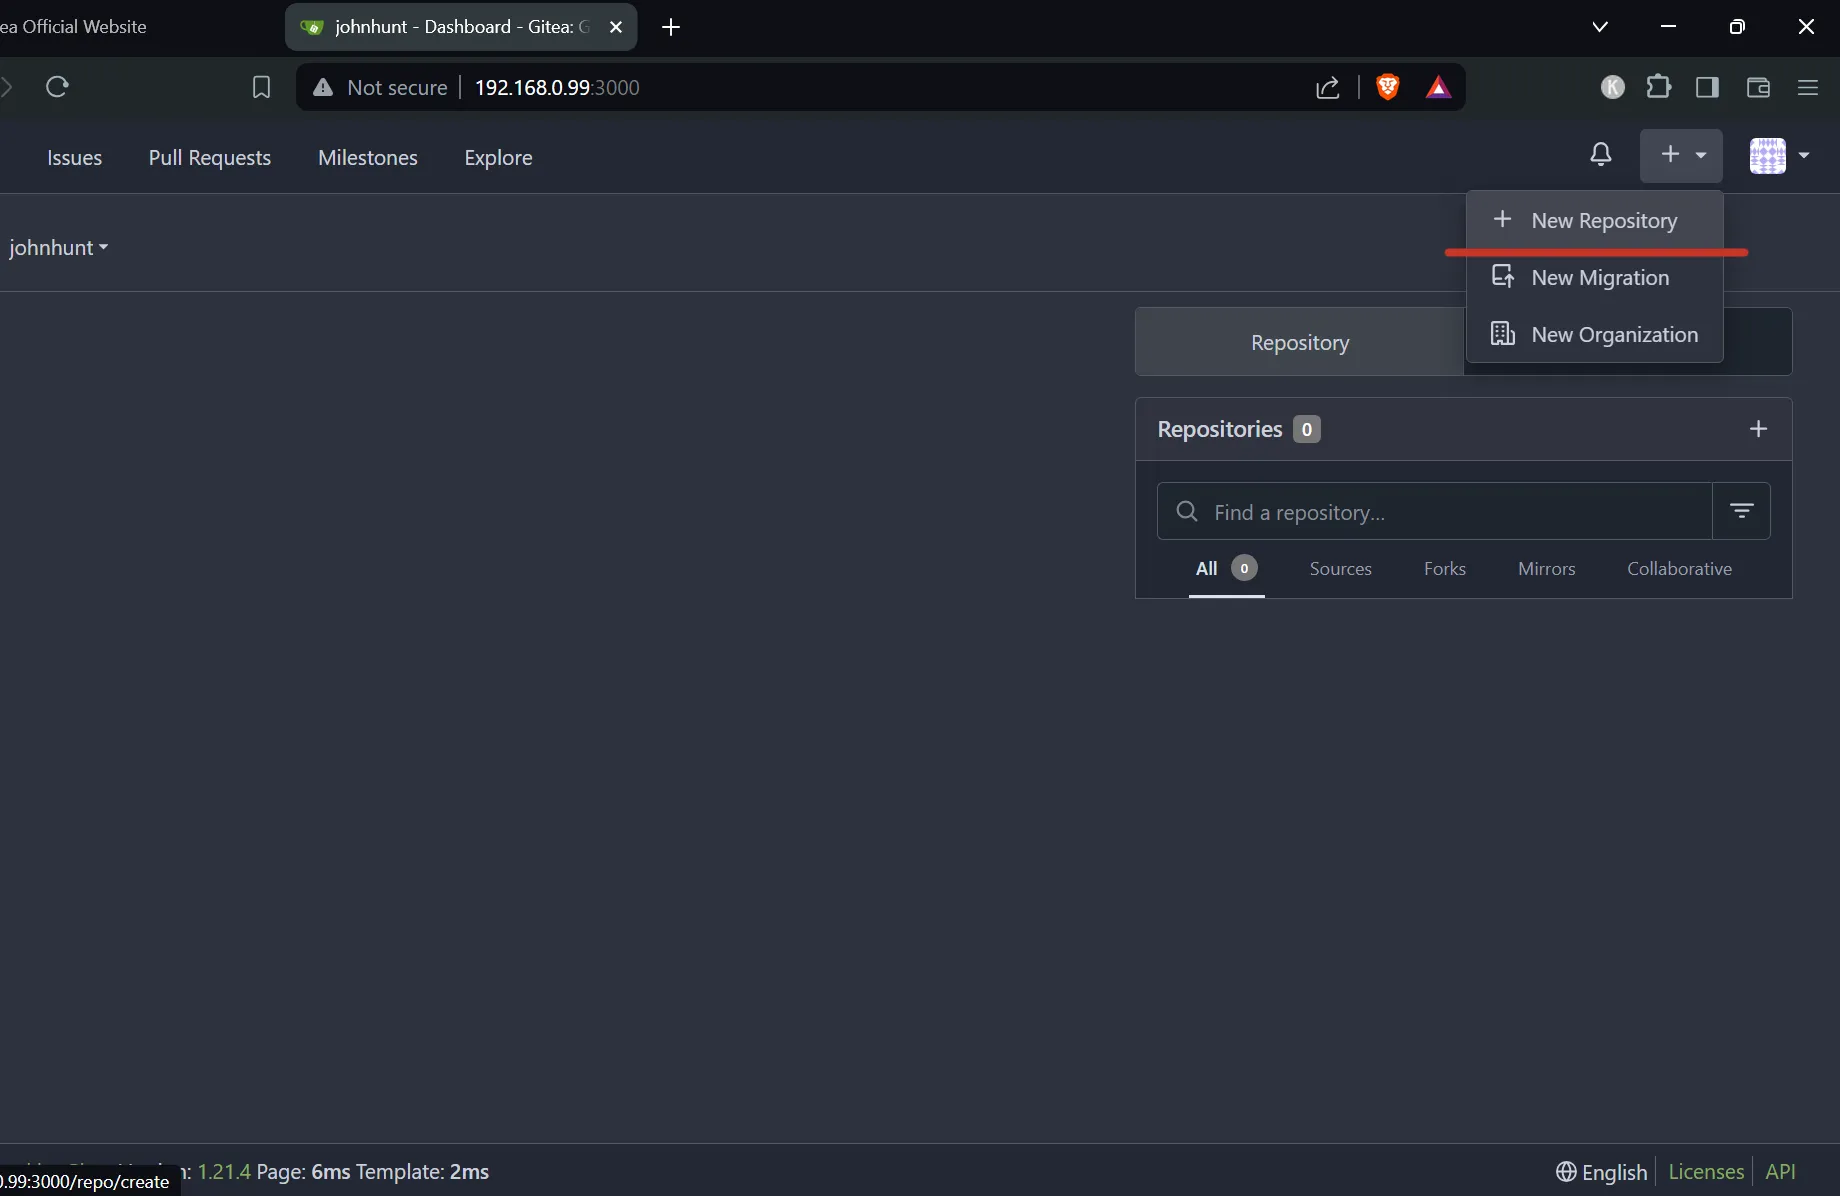
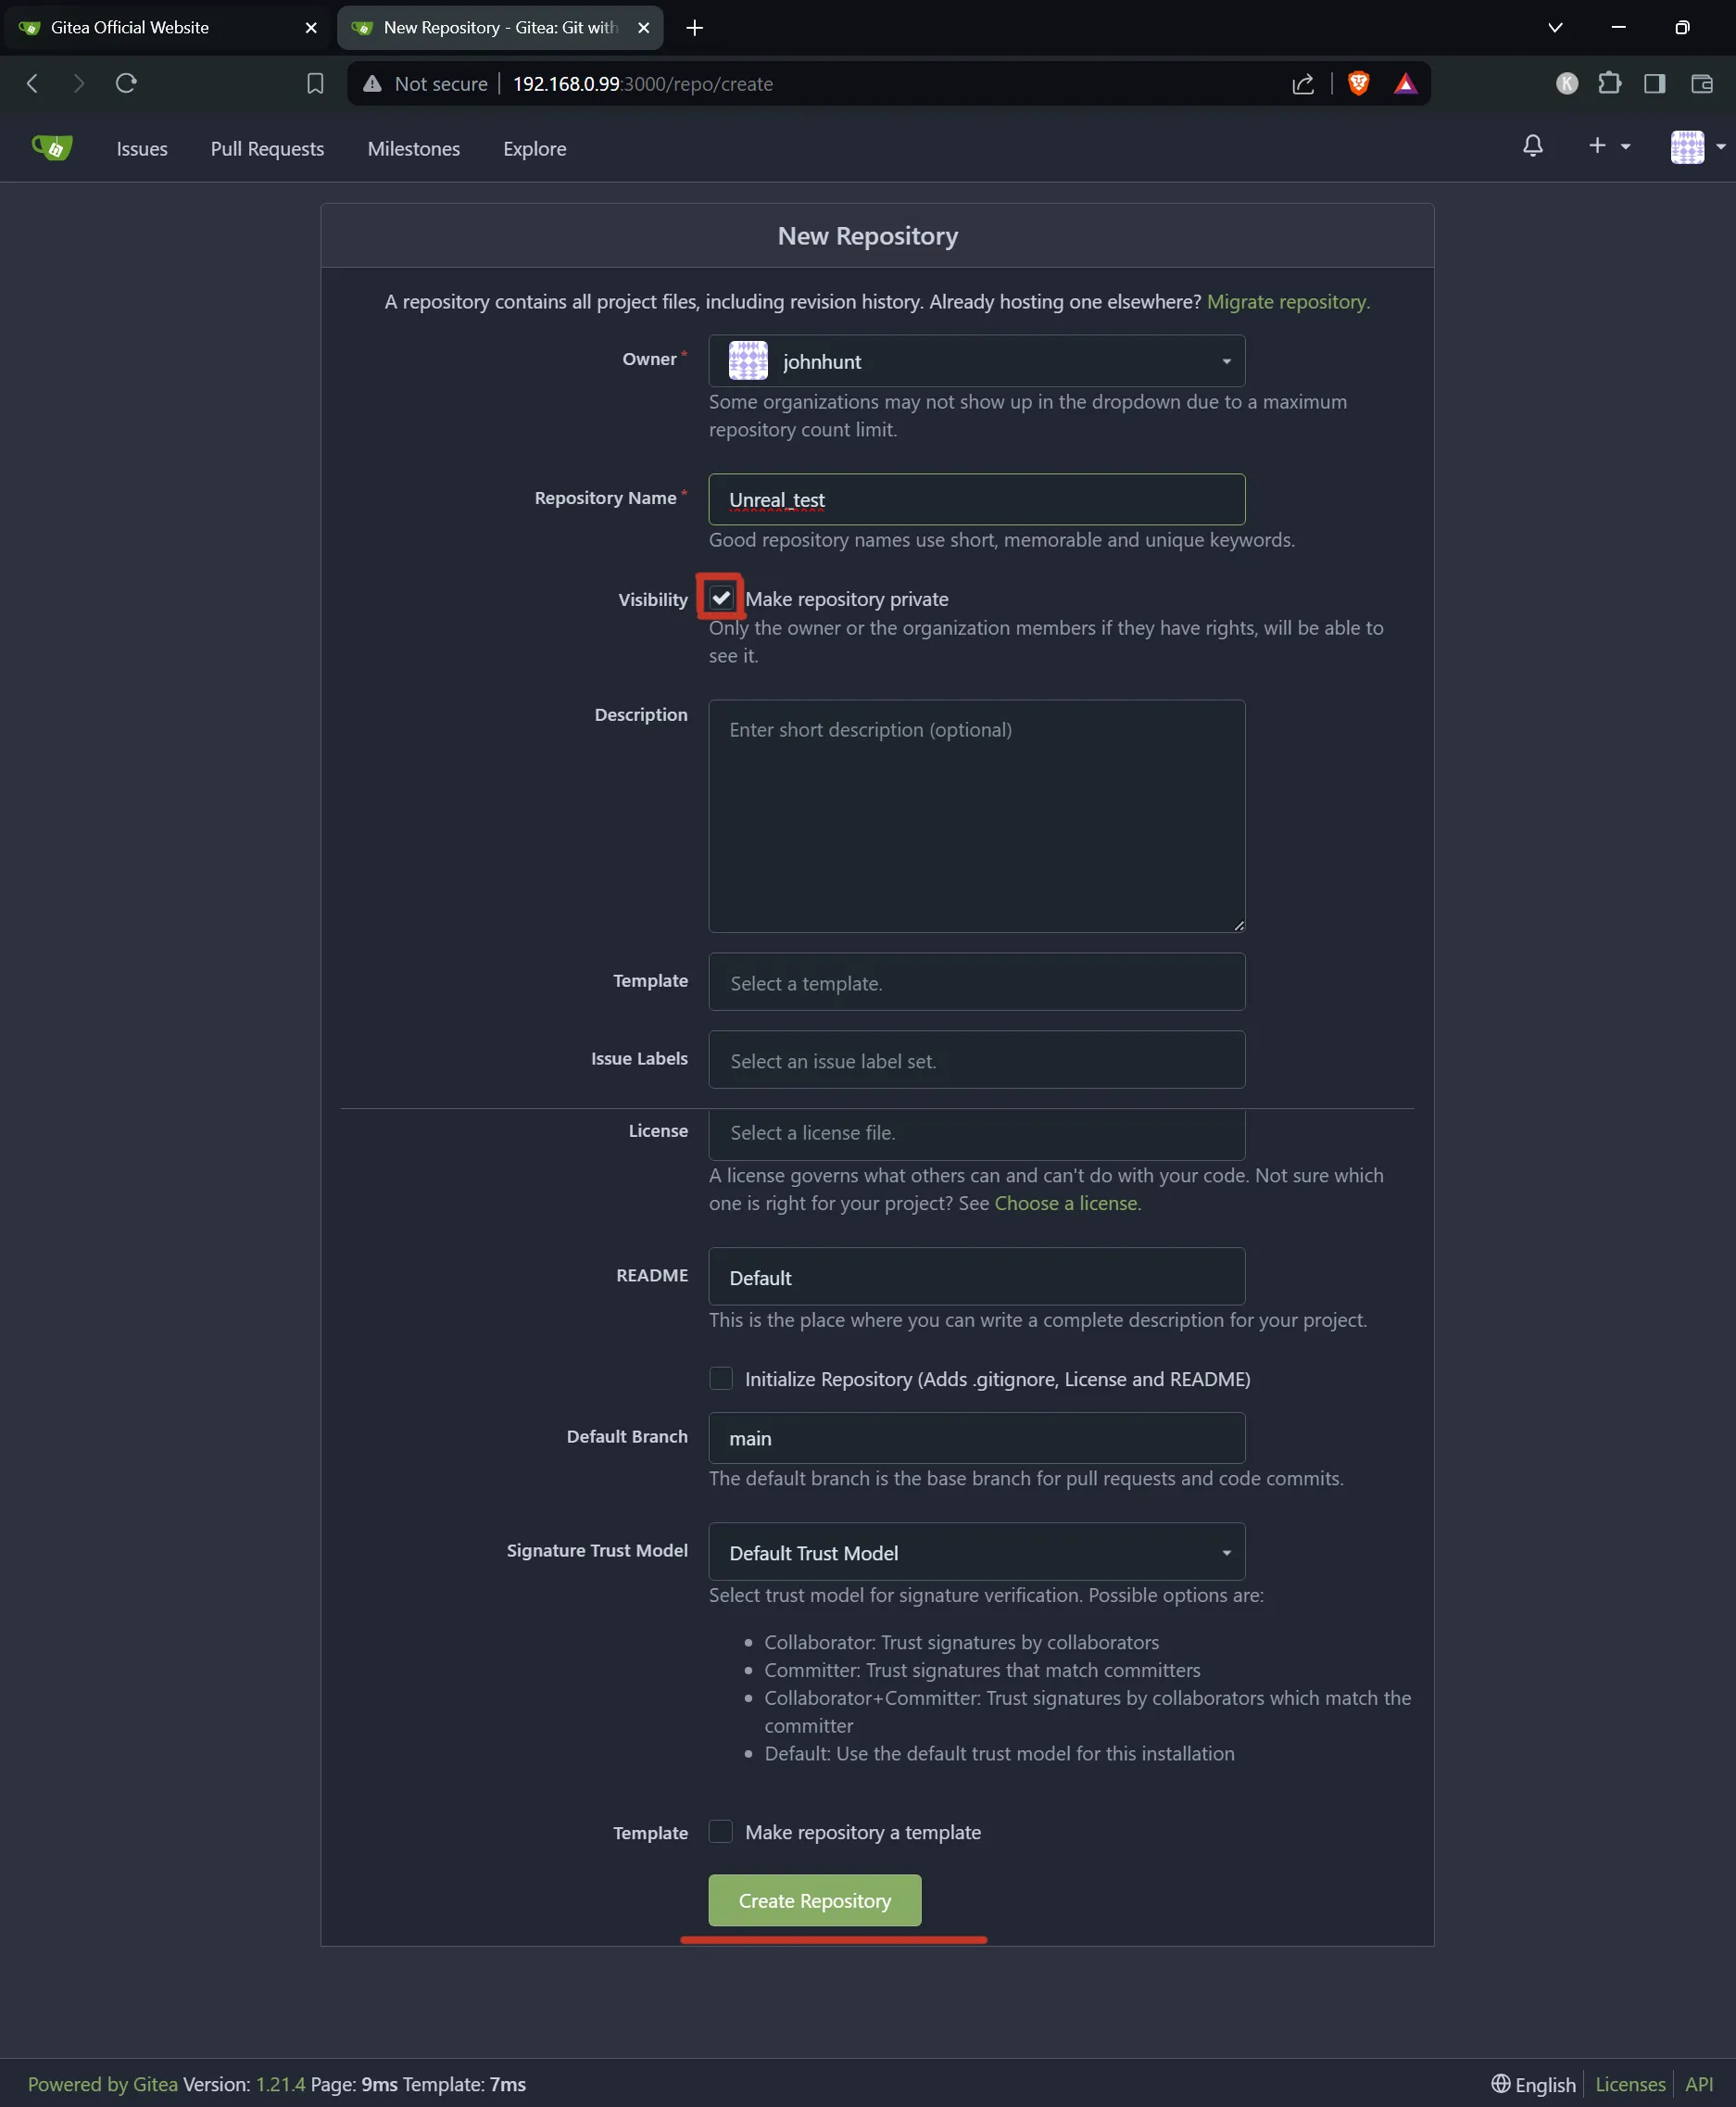
Go to the plus icon and create a new repository
Add a name and make it private. The reason we make it private is to simplify the git login process from our Git client, and to be able to manage access to our Git repositories.
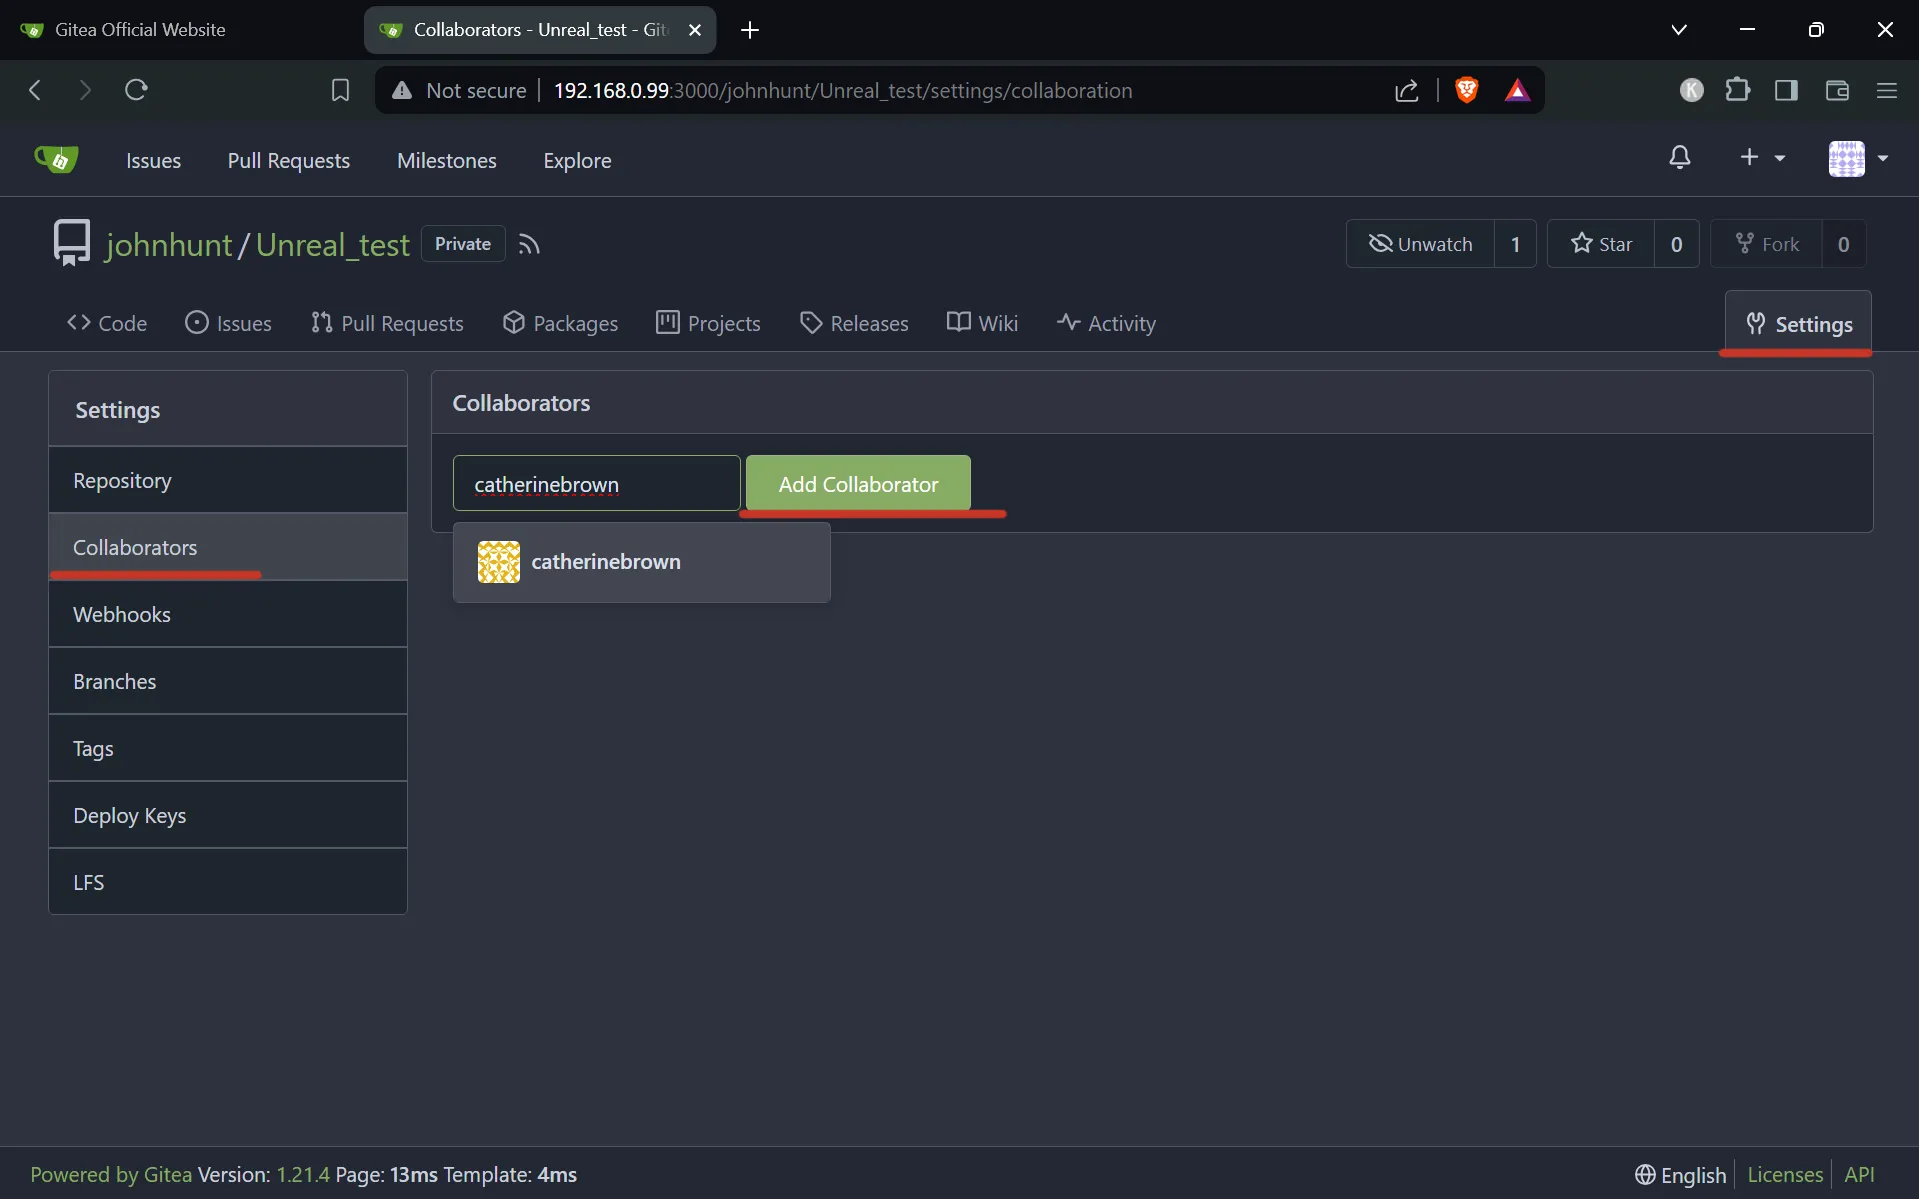
Add a collaborator by clicking on "Settings" in the top right corner, then on "Collaborators" and then type in the name of the users, you added in the step before.
Finally, we need to copy the URL of the repository to the clipboard, so that we can paste it in our Git client
Pushing our project to the Git server using a Git client
In this example we will use Anchorpoint, but you can use any Git client of your choice.
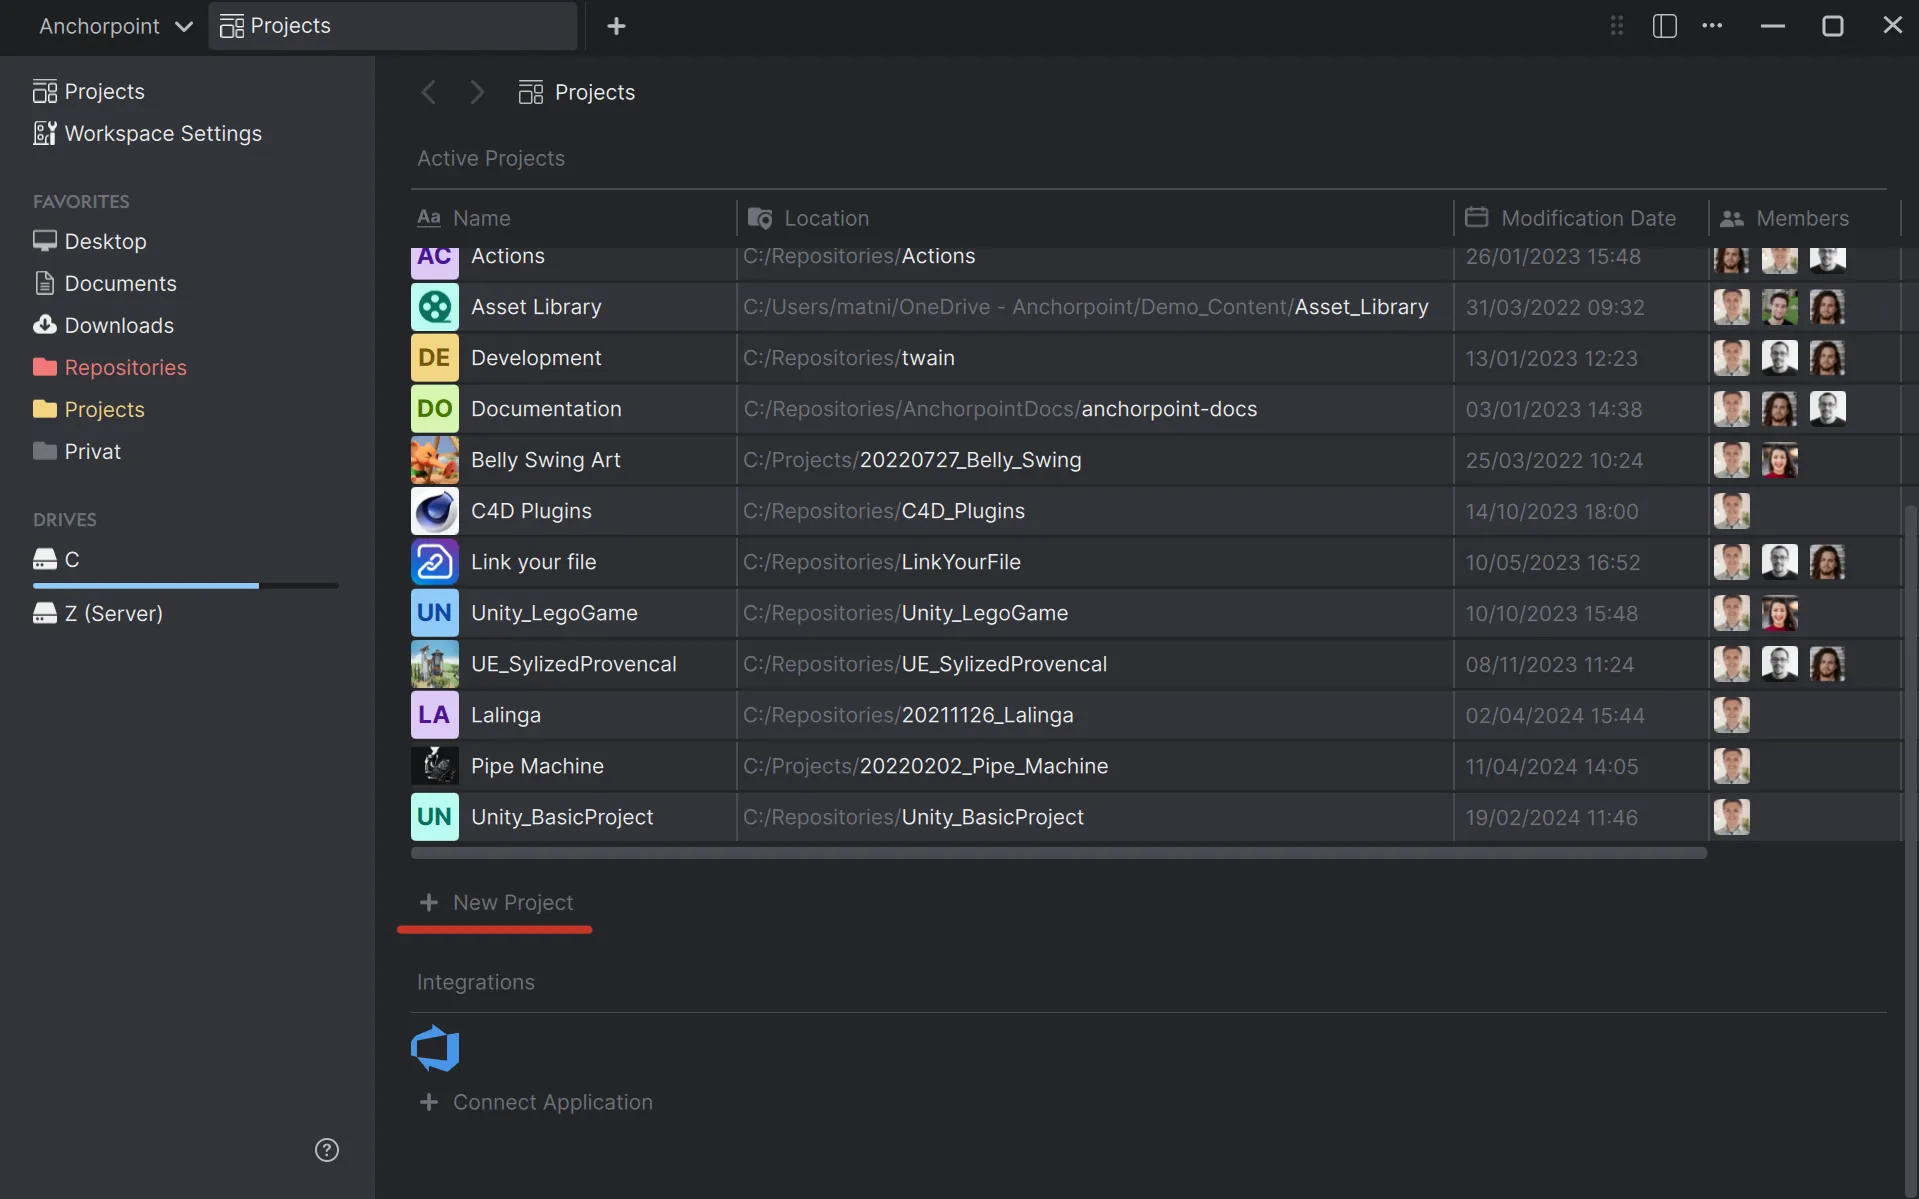
Open Anchorpoint, create a new tab and click on "New Project"
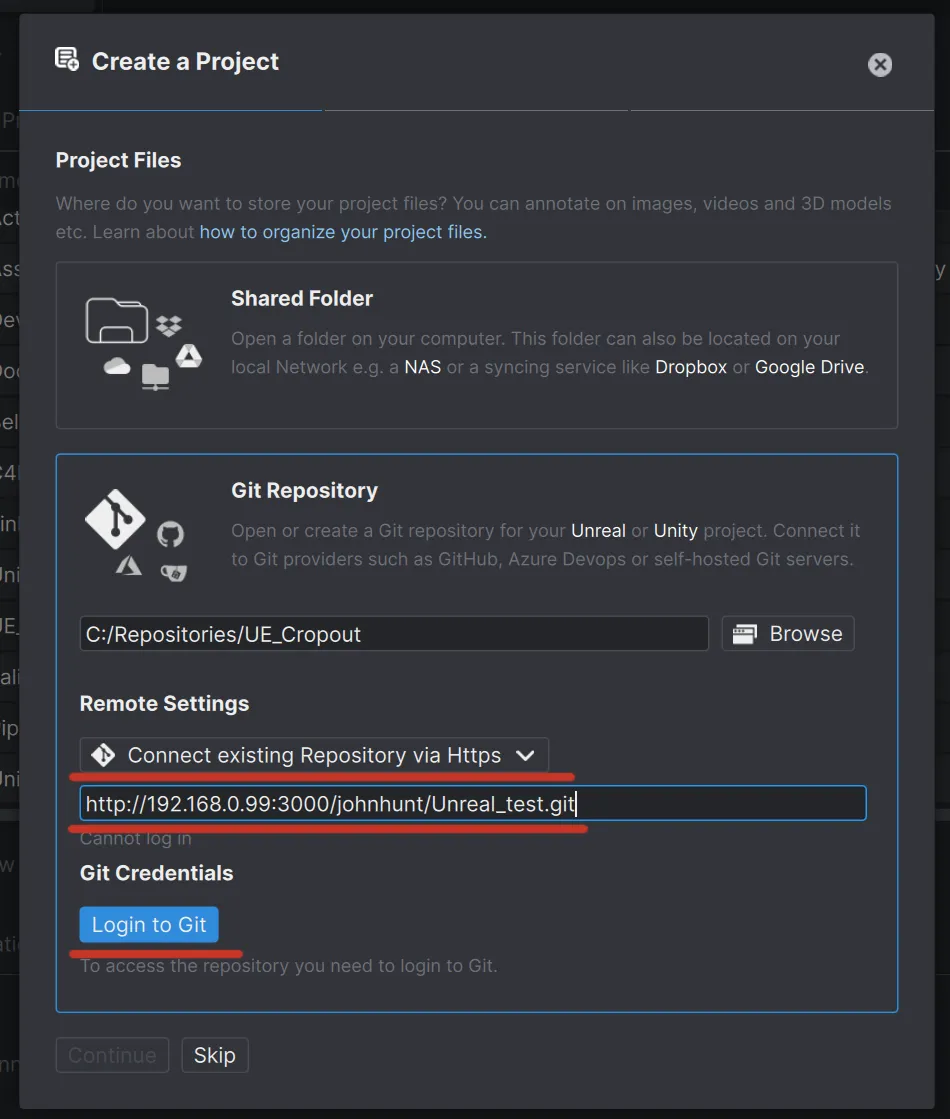
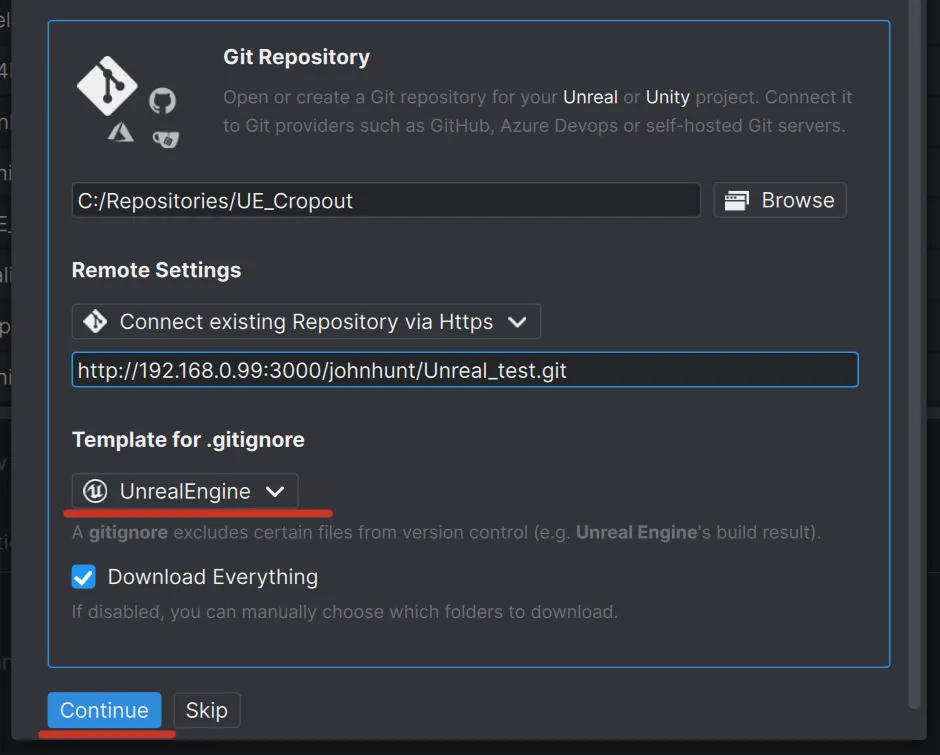
Pick "Git Repository", then add the path to your project files. In the Remote Settings, pick "Connect existing Repository via Http" and paste the URL from our Git server. Wait until you see the "Login to Git" button. Click it.
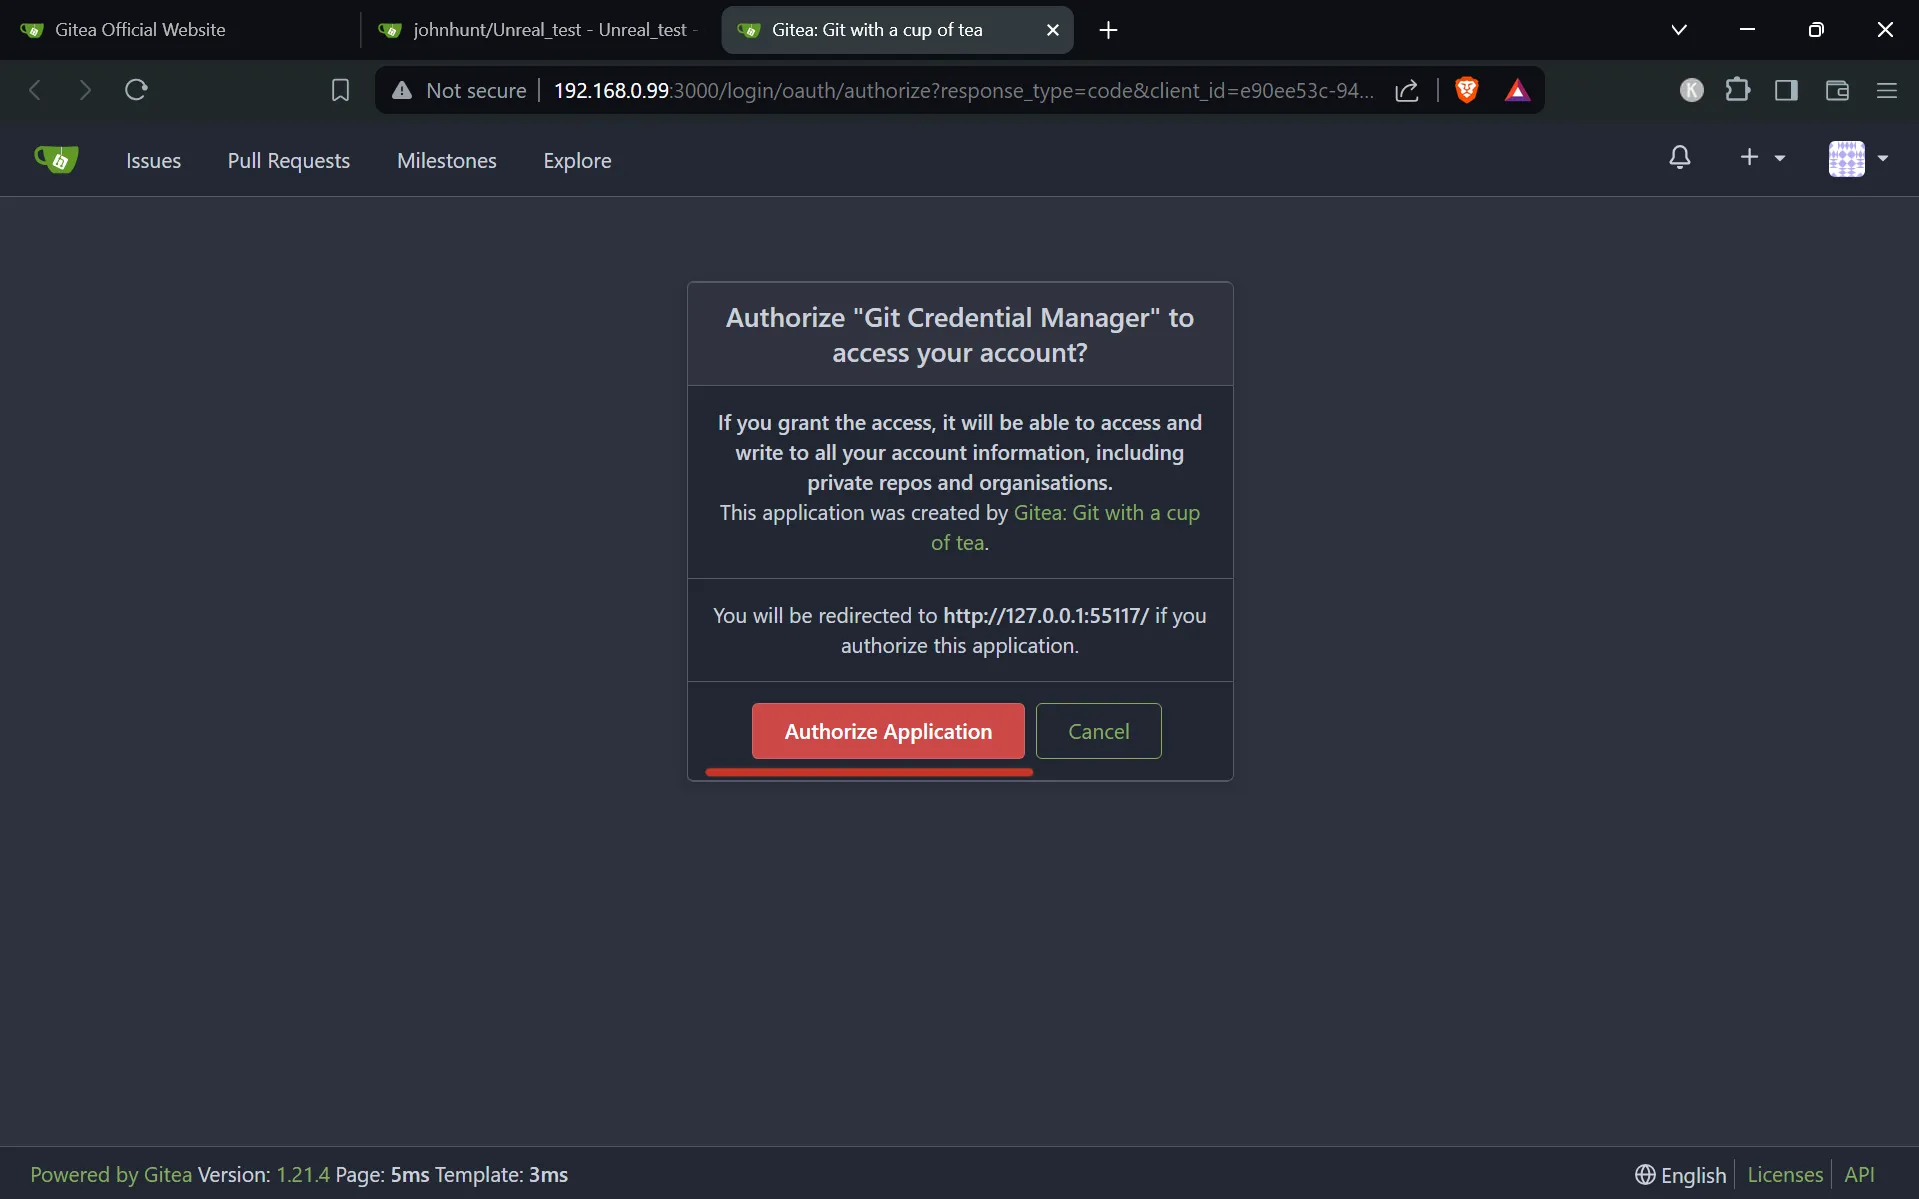
In this step, we will create Git credentials in Anchorpoint that will allow it to push files to Gitea. Click on "Authorize Application"
Once you have authorized Anchorpoint in Gitea, go back to Anchorpoint, select an appropriate .gitignore template, and click Next. The next step will ask you for a project name, which you can skip.
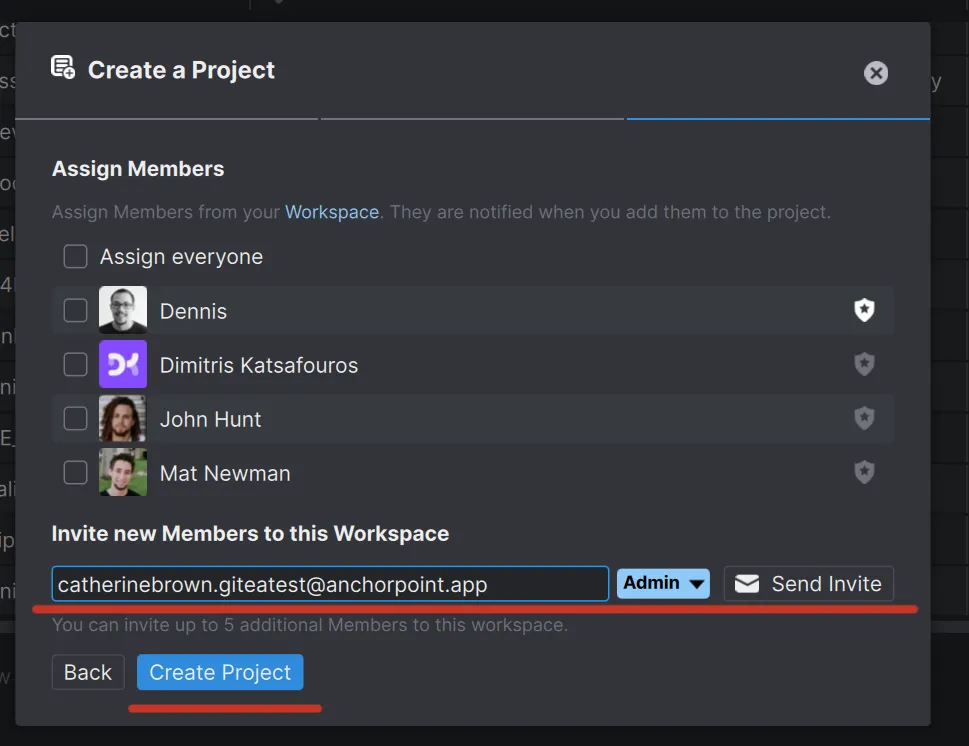
Finally, add your team member by entering the email address they will use to log in to Anchorpoint. They will see a project invitation and won't need to deal with the Git server URL at all.
Now, click on "Timeline", then on "Changed Files", enter a message and click on "Sync". This will push your files to your local Git server.
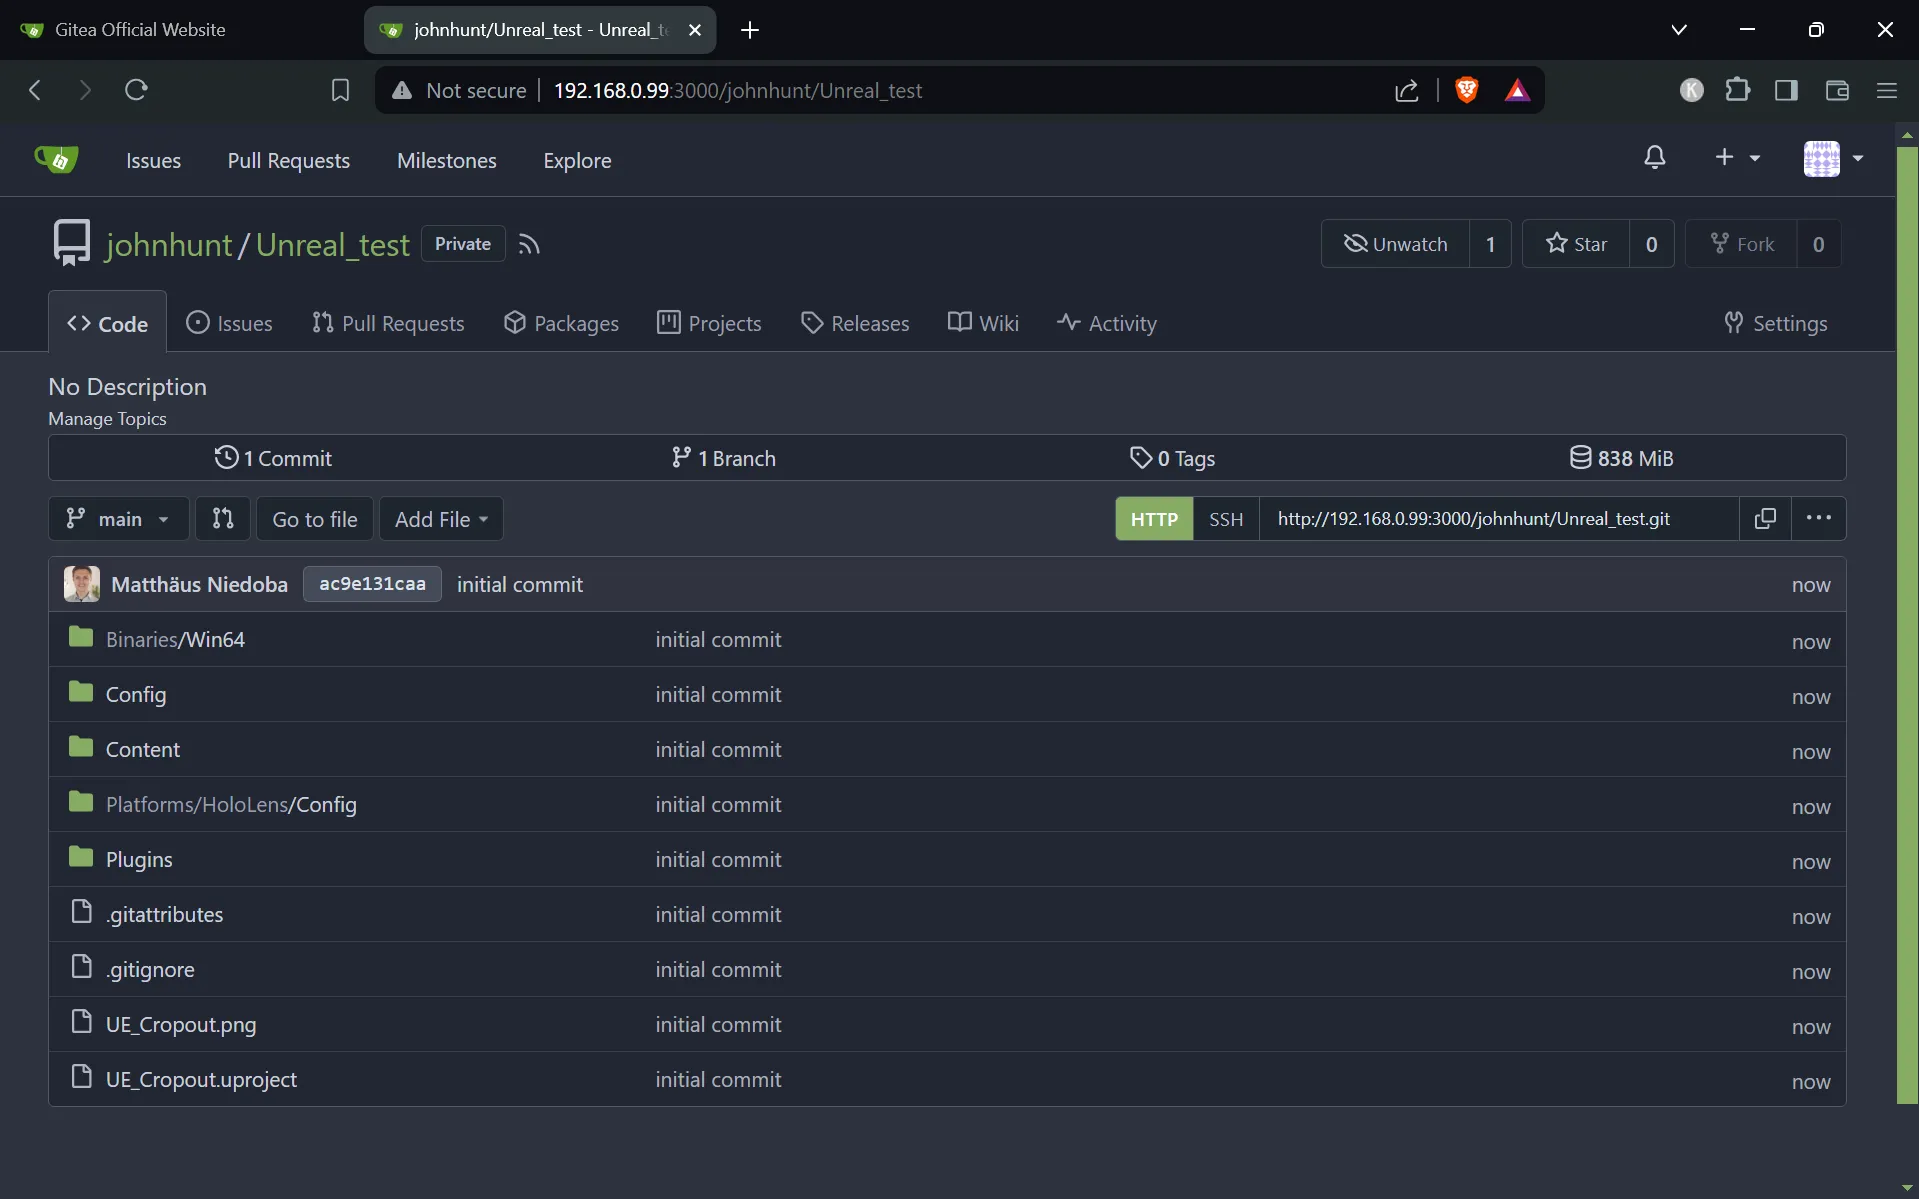
Refresh the page of your repository in Gitea to see the pushed files.
That's all you need to do, to collaborate on a project using a local Git server on Windows. If your team member will open up Anchorpoint, they should see a project invite. The first thing they need to do is authorize Anchorpoint with Gitea, just like you did. After that they can download all files and push new files to Gitea. Note that this configuration only works for internal use. To make your Git server available to the Internet, you need to take a few more steps.
Anchorpoint has also an integration to Gitea, which allows you to create repositories and add members directly from Anchorpoint. All the changes will be automatically reflected on Gitea.