Git with KiCad - Version control for PCB design workflows
Learn why KiCad’s open-source text files are the perfect complement to Git and how to use version control as the ultimate safety net for your hardware layouts.
July 1, 2026
9
min read

If you’ve spent any time routing traces, wrestling with high-speed constraints, or you are trying to find a footprint mismatch at 2:00 AM, you know Altium Designer is pretty much the gold standard. It’s powerful, it’s sleek, and it’s one of the heavyweight champ of the ECAD world.
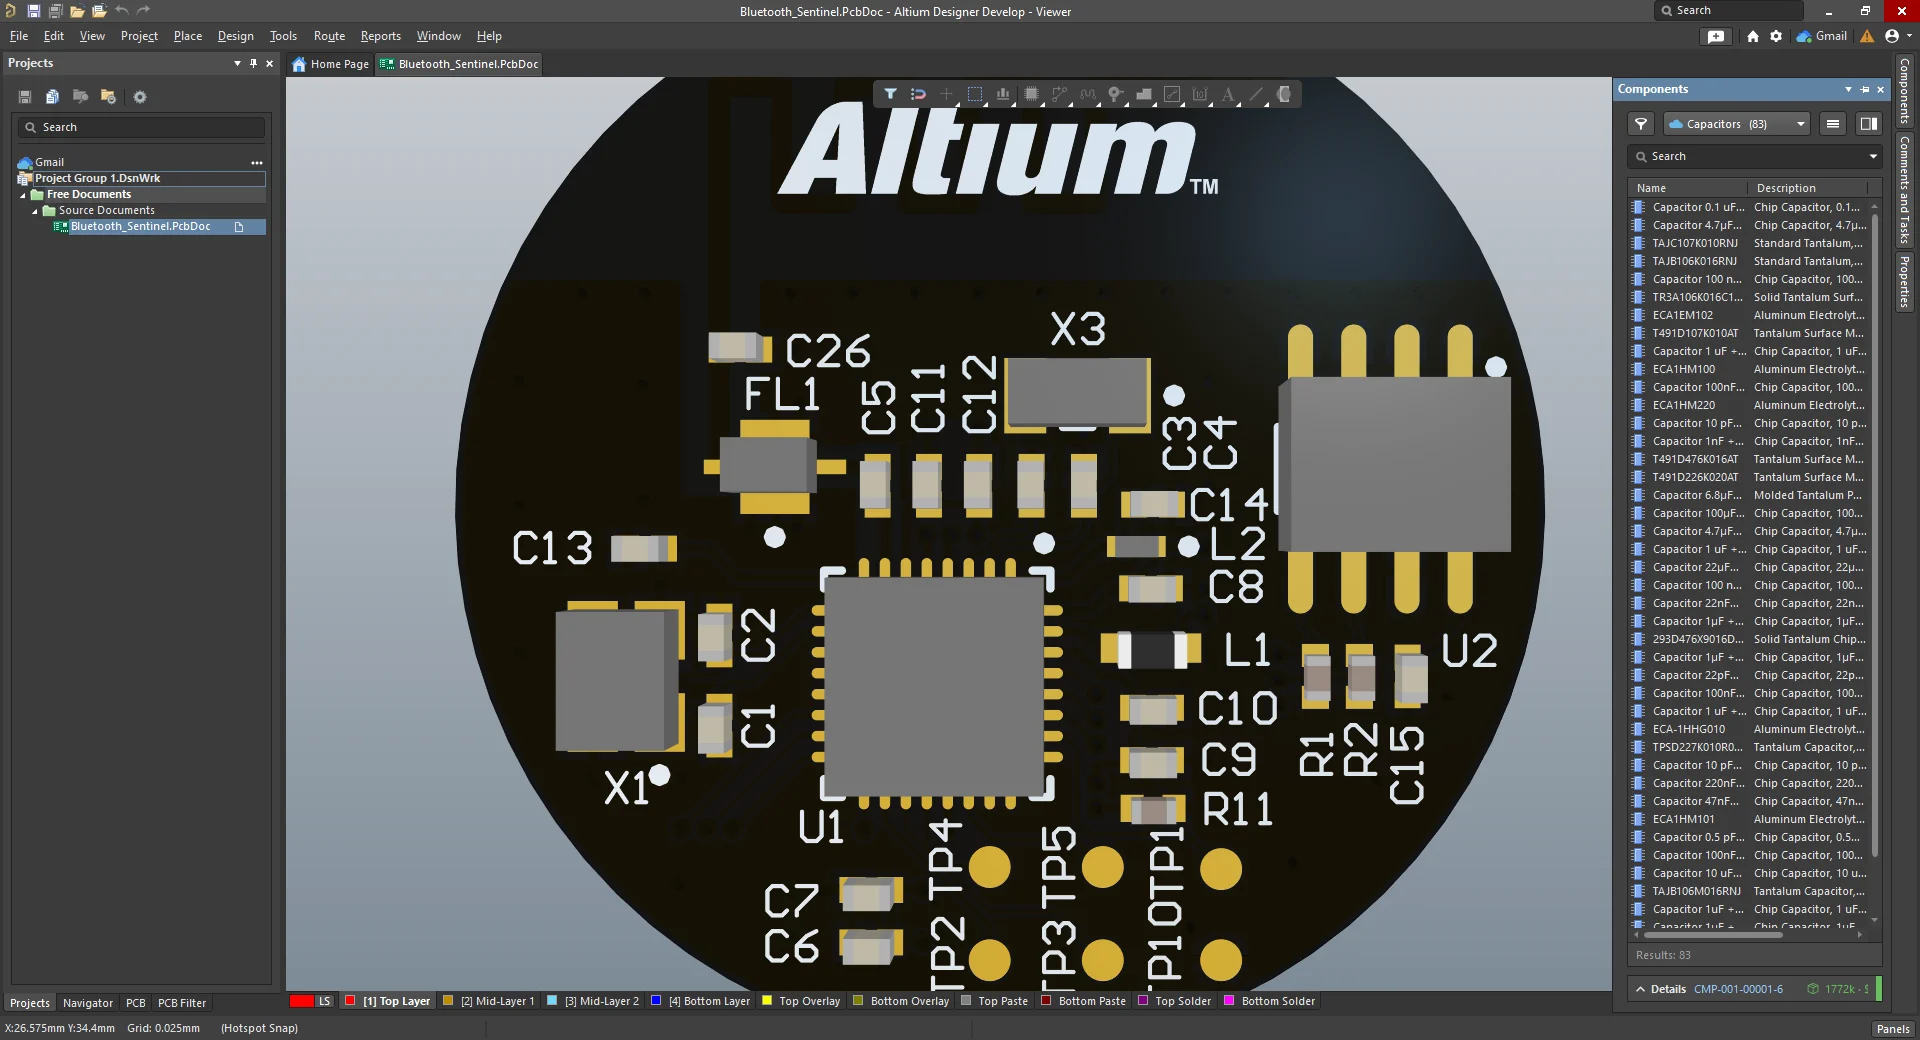
But as your PCBs grow from simple breakout boards into complex, multi-layer beasts, a nagging question always pops up: How on earth do we manage all these files without losing our minds?
If your current solution involves a folder filled with files like Board_v2_FINAL_fixed_actually_final.PcbDoc, grab a coffee. We need to talk about version control, and specifically, why a software tool like Git might just be the best friend your hardware workflow ever had.
Let’s set the scene. You’re working on a massive project. You decide to optimize the power management section, but three hours later, you realize you've accidentally broken the impedance matching on your differential pairs. You hit Ctrl + Z repeatedly, but Altium's undo buffer gives up. You're stuck.
This is where Version Control Systems (VCS) step in. Think of VCS as an ultimate, infinite "Undo" button and a time machine wrapped into one.

For PCB designers, proper version control offers a few massive perks:
If you ask a software engineer, they’ll tell you Git is a "distributed version control system." You could say that Git is essentially a high-tech snapshot machine for your project folder.
Instead of saving copies of files with different names, Git tracks the changes inside your project directory. Every time you hit a milestone, you take a "snapshot" (called a Commit). Git saves that exact state of your project.
Because Git is distributed, you have a full copy of the project's history right on your local machine, and you can push those snapshots up to a cloud server (like GitHub, GitLab, Gitea personal local server or Bitbucket) so the rest of your team can stay in sync. It was originally built for tracking text-based software code, but it works surprisingly well for hardware projects too.
Now, if you’re using a modern version of Altium, you’re probably thinking: "Hey, what about Altium 365? It already does version control in the cloud!"
You’re totally right. Altium 365 is fantastic, but it’s a very different beast compared to a standard Git setup. Let’s break down the pros and cons of going the DIY Git route versus sticking with Altium’s native cloud.
In Git, the main line of your design is usually called the main or master branch. This represents your stable, production-ready design. But let's say you want to try an alternative wireless module because the current chip is facing supply chain shortages.
Instead of messing with your perfect layout, you create a Branch called something like feature-x.
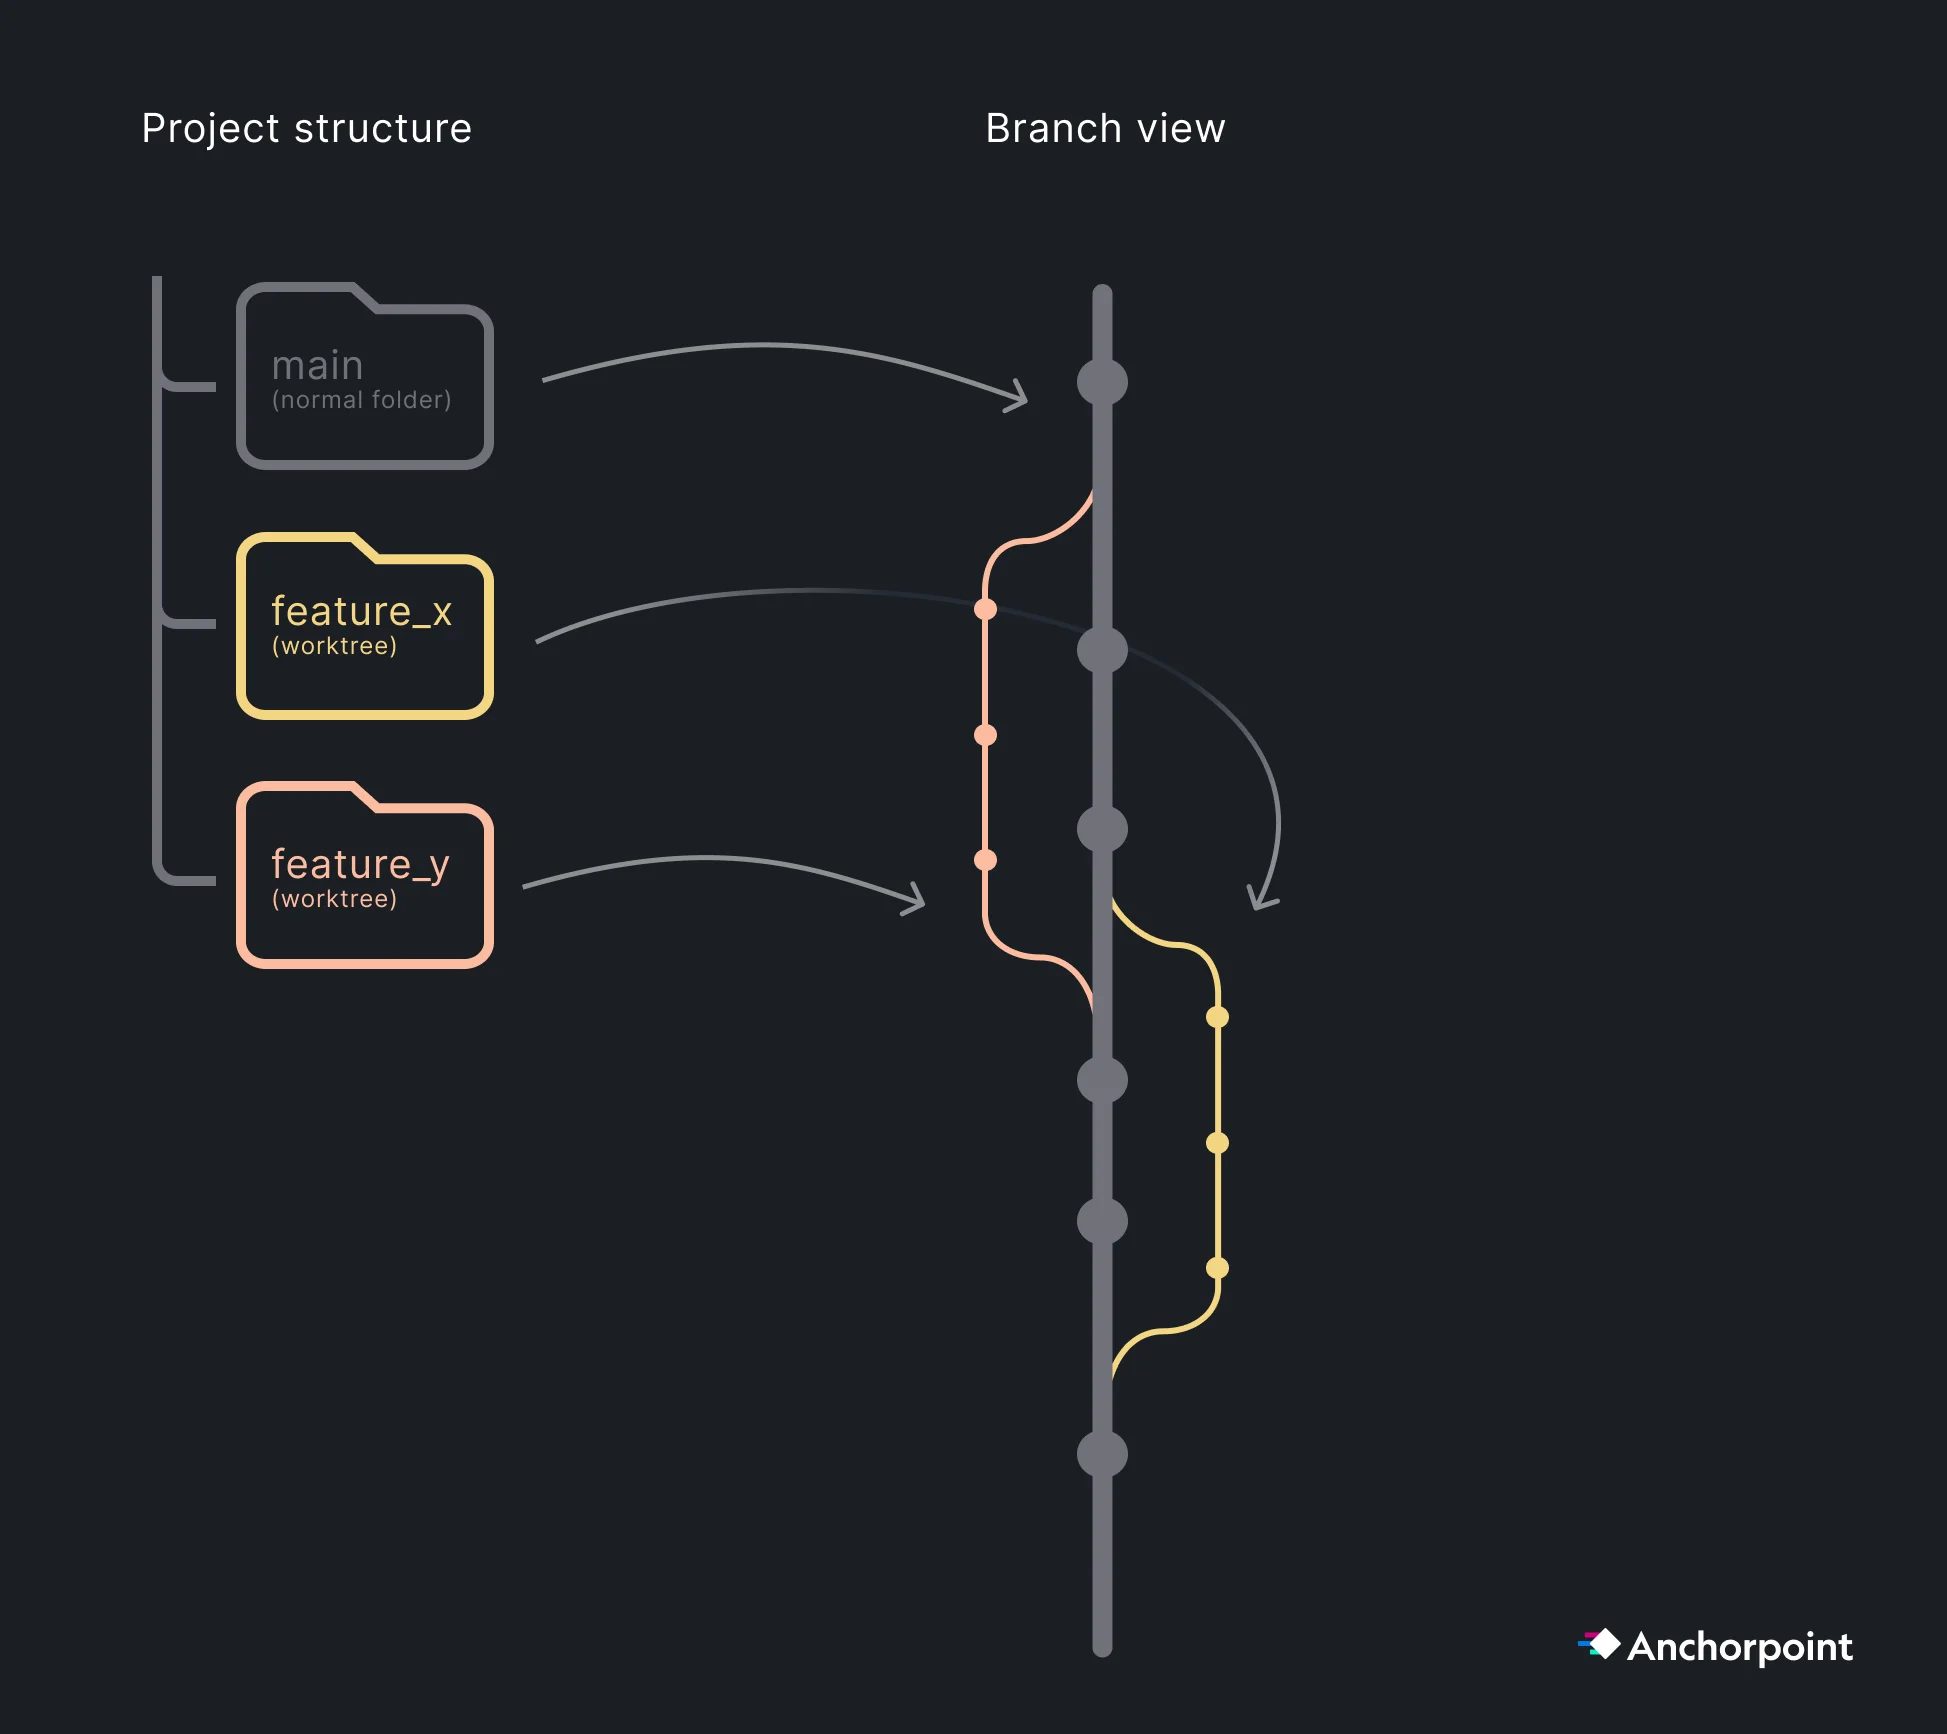
While you are on this branch, you can rip up traces, swap parts, and radically change the schematic.
While Git is traditionally associated with software developers writing code, it is equally powerful for managing assets in game development, animation, and visualization pipelines. Version control solutions like Anchorpoint bridge this gap, bringing the stability of Git to creators who care far more about their models and designs than complex terminal commands.
It offers user-friendly power without the complexity. Anchorpoint acts as a simplified layer over Git, removing the technical hurdles for non-technical users while retaining full functionality under the hood. It connects seamlessly with your existing infrastructure, whether you use GitHub, GitLab, Azure DevOps, or a self-hosted server.
High-speed file locking prevents collaborative chaos. Because Altium files are binary, team members cannot merge simultaneous changes into the same file. Anchorpoint solves this by offering a lightning-fast file locking system that secures up to 1,000 files in under a second, stopping edit conflicts before they can disrupt your day.
It eliminates asset configuration nightmares. Standard Git setups usually struggle with massive binary files unless you dedicate hours to configuring Git LFS (Large File Storage). Anchorpoint handles these files automatically without prior configuration, providing a genuine plug-and-play experience for engineers and artists alike.
You retain total data ownership with zero vendor lock-in. Your data belongs entirely to you. Because Anchorpoint is fully compatible with Git standards and integrates easily with cloud providers like Dropbox and Google Cloud, you never have to worry about your project files being trapped inside a proprietary ecosystem.
GitHub remains one of the most popular choices, offering robust Free and Pro tiers. Free accounts support binary files up to 2GB, while Team plans support up to 4GB and Enterprise plans allow up to 5GB. Additionally, GitHub provides 10GB of free Git LFS storage and bandwidth, charging a low per-gigabyte fee for any extra storage or outbound data transfer.
Azure DevOps serves as a strong alternative, primarily because it provides flexible Git LFS storage at no additional cost. However, it can occasionally suffer from frustrating account and authentication glitches, sometimes failing to recognize your repository permissions when logging in.
Your Own Server remains the ultimate option for teams requiring absolute control, allowing you to self-host a private Git server tailored to your specific security needs.
While general tools like GitHub Desktop or Sourcetree are widely available, Anchorpoint is uniquely optimized for artists and engineers. It comes pre-configured for CAD and PCB projects, and utilizes native file locking to keep your environment conflict-free.

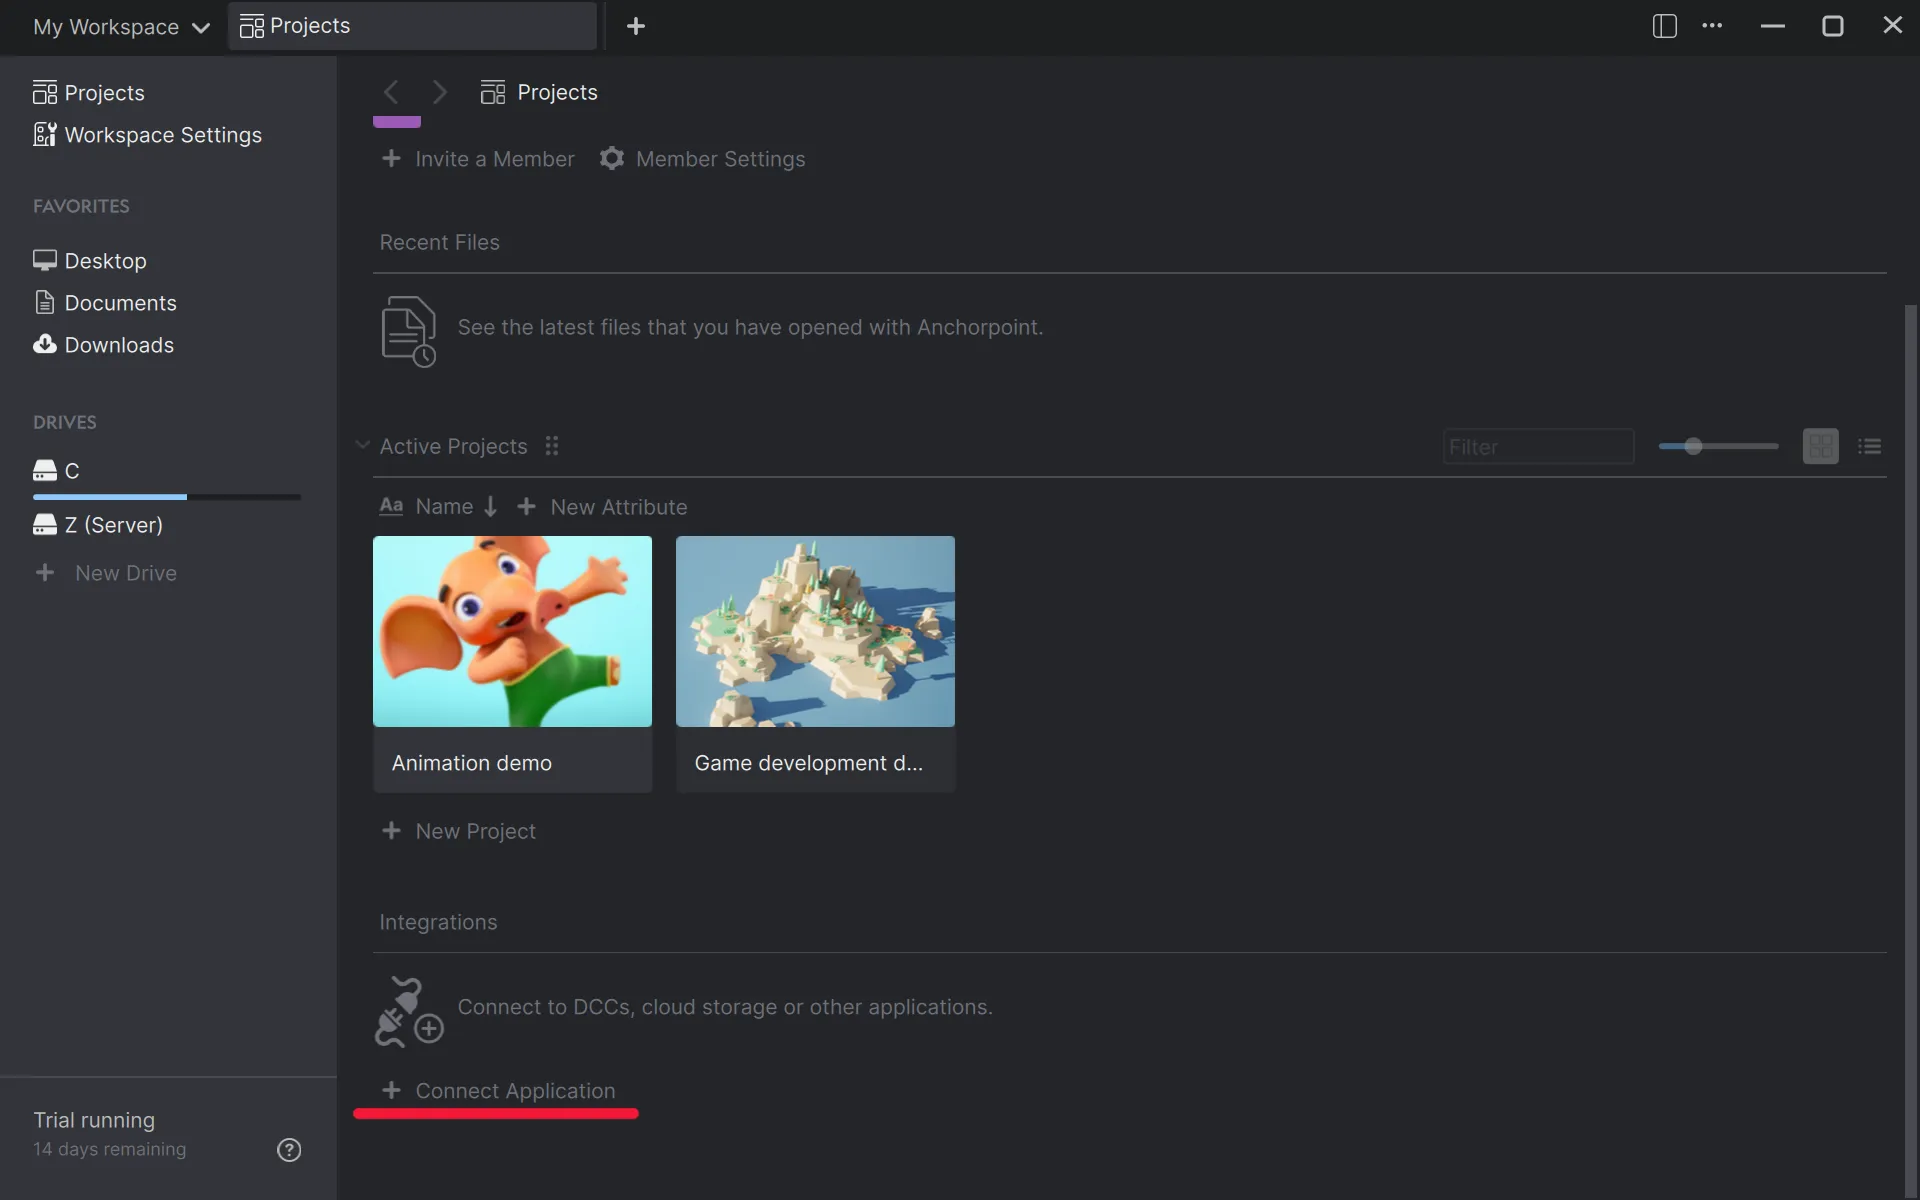
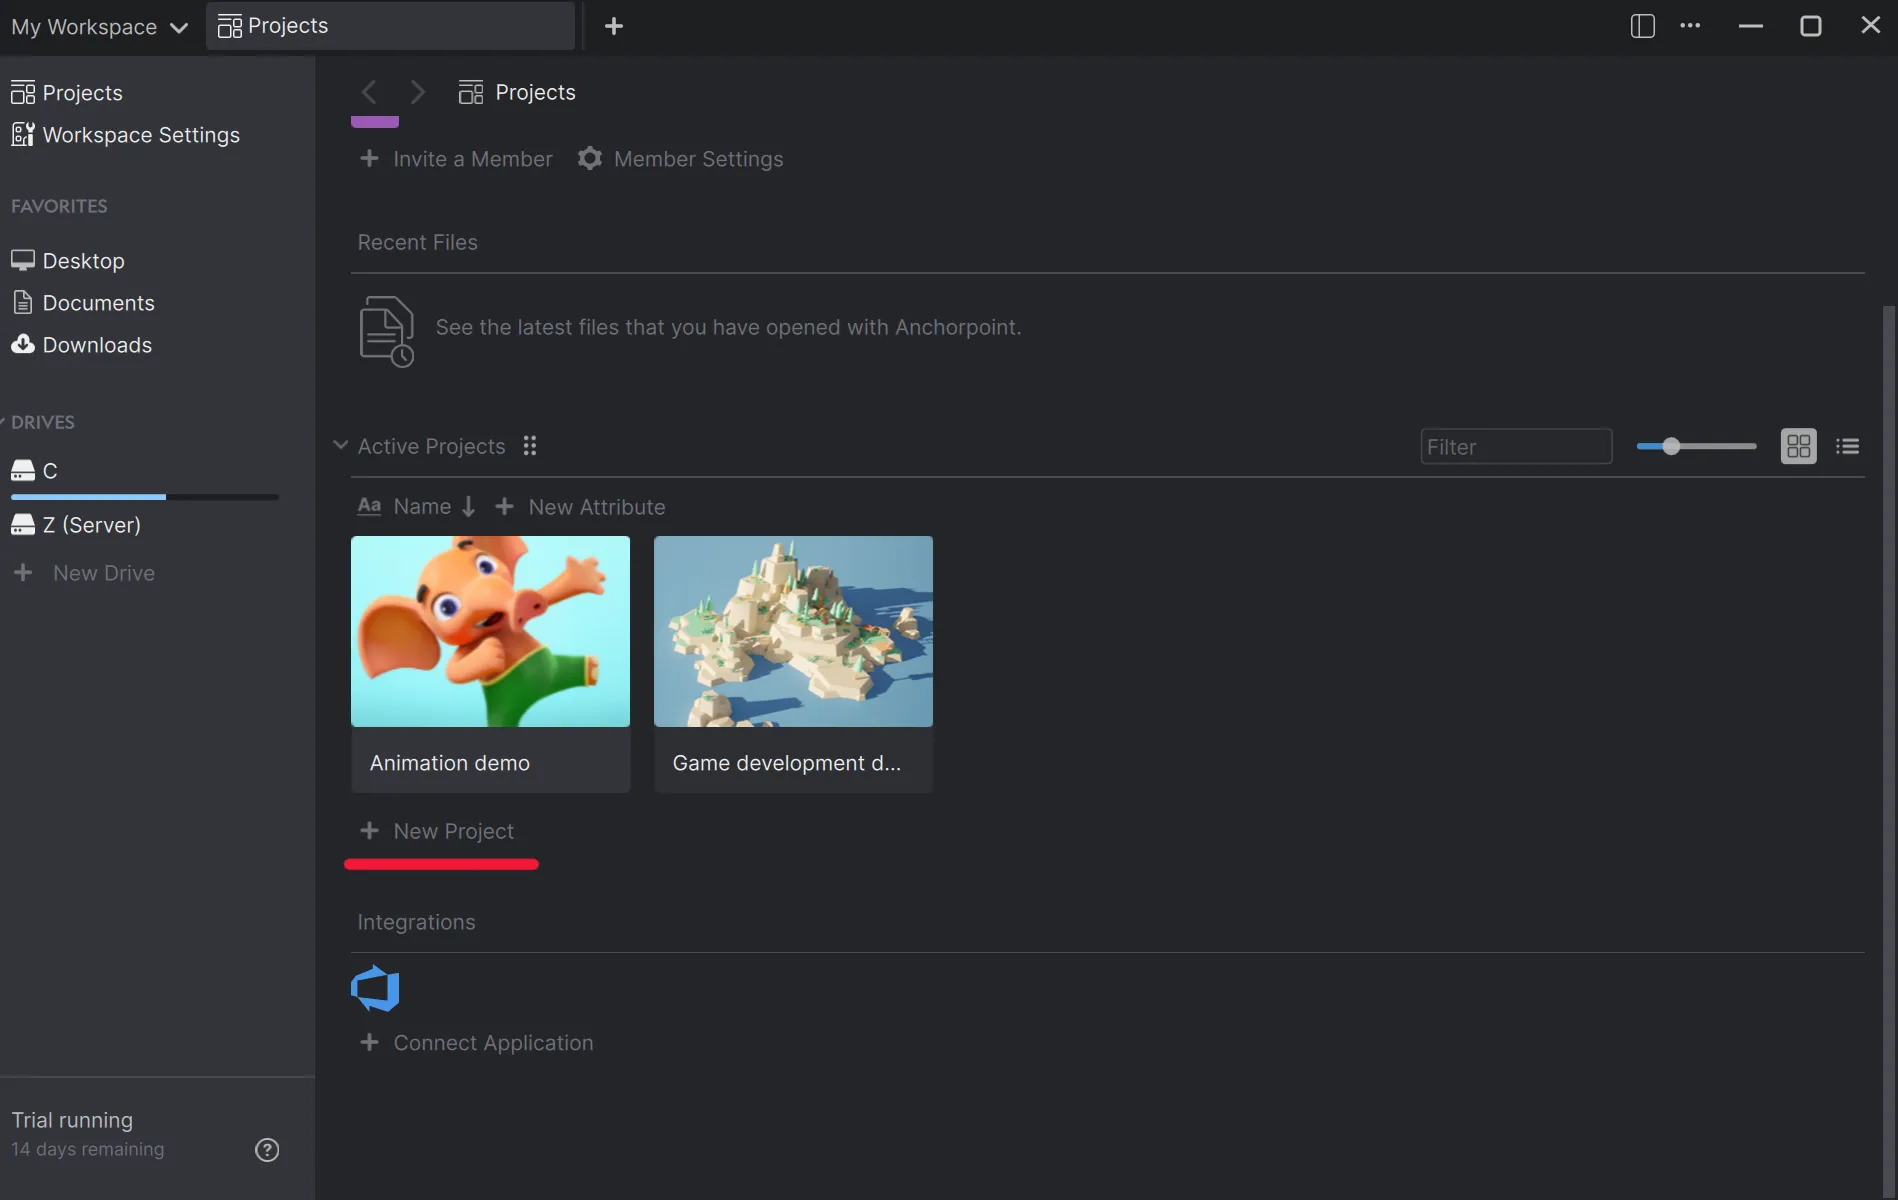
The free version of Anchorpoint natively supports local repositories and GitHub. To explore the full feature set, you can initiate a free 14-day team trial by navigating to Workspace Settings in the top-left navigation bar, selecting Plans, and clicking Free 14-Day team trial.
Setting up your cloud integration inside Anchorpoint is a straightforward, one-time process. You simply need to follow the intuitive on-screen prompts for your chosen provider.
If you prefer learning through video, an official guide is available on YouTube. Even though the tutorial demonstrates a Unity project setup, the integration steps are identical, making it incredibly easy to follow along and adapt for your Altium projects.
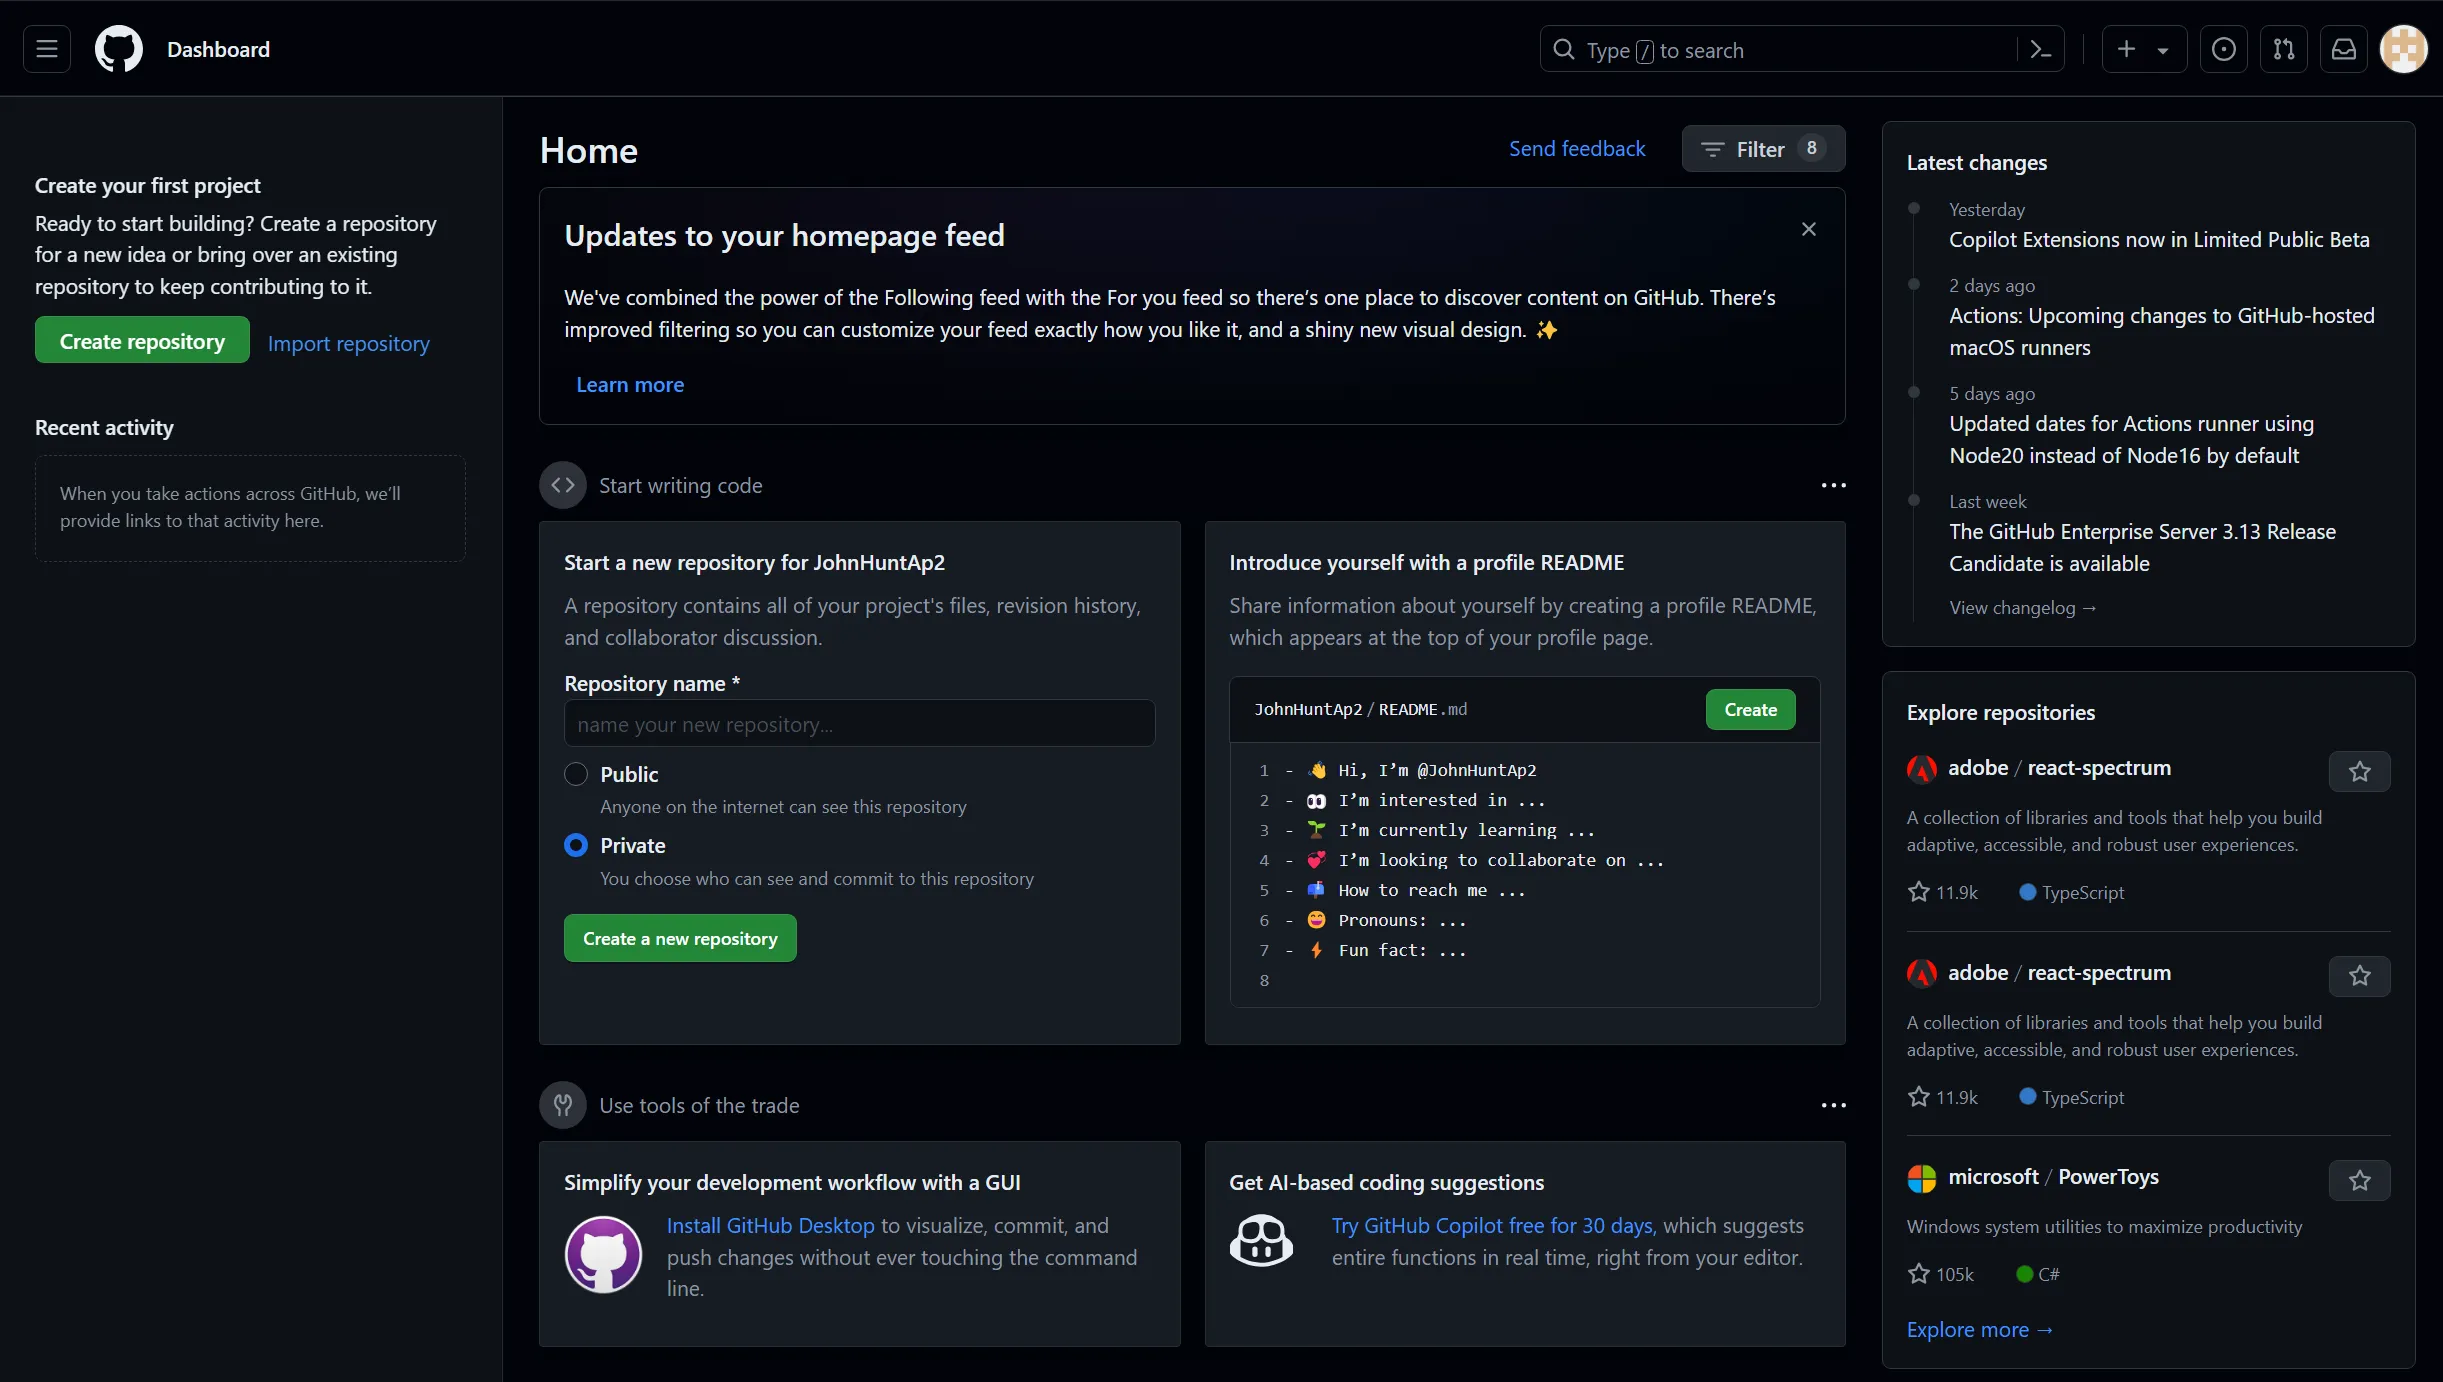
Setting up GitHub requires just a few clicks. Go to GitHub.com and create a free account.
To link GitHub with Anchorpoint, follow the setup instructions outlined below. If you plan to work offline, you can opt for the Shared Folder method when initiating a new project.
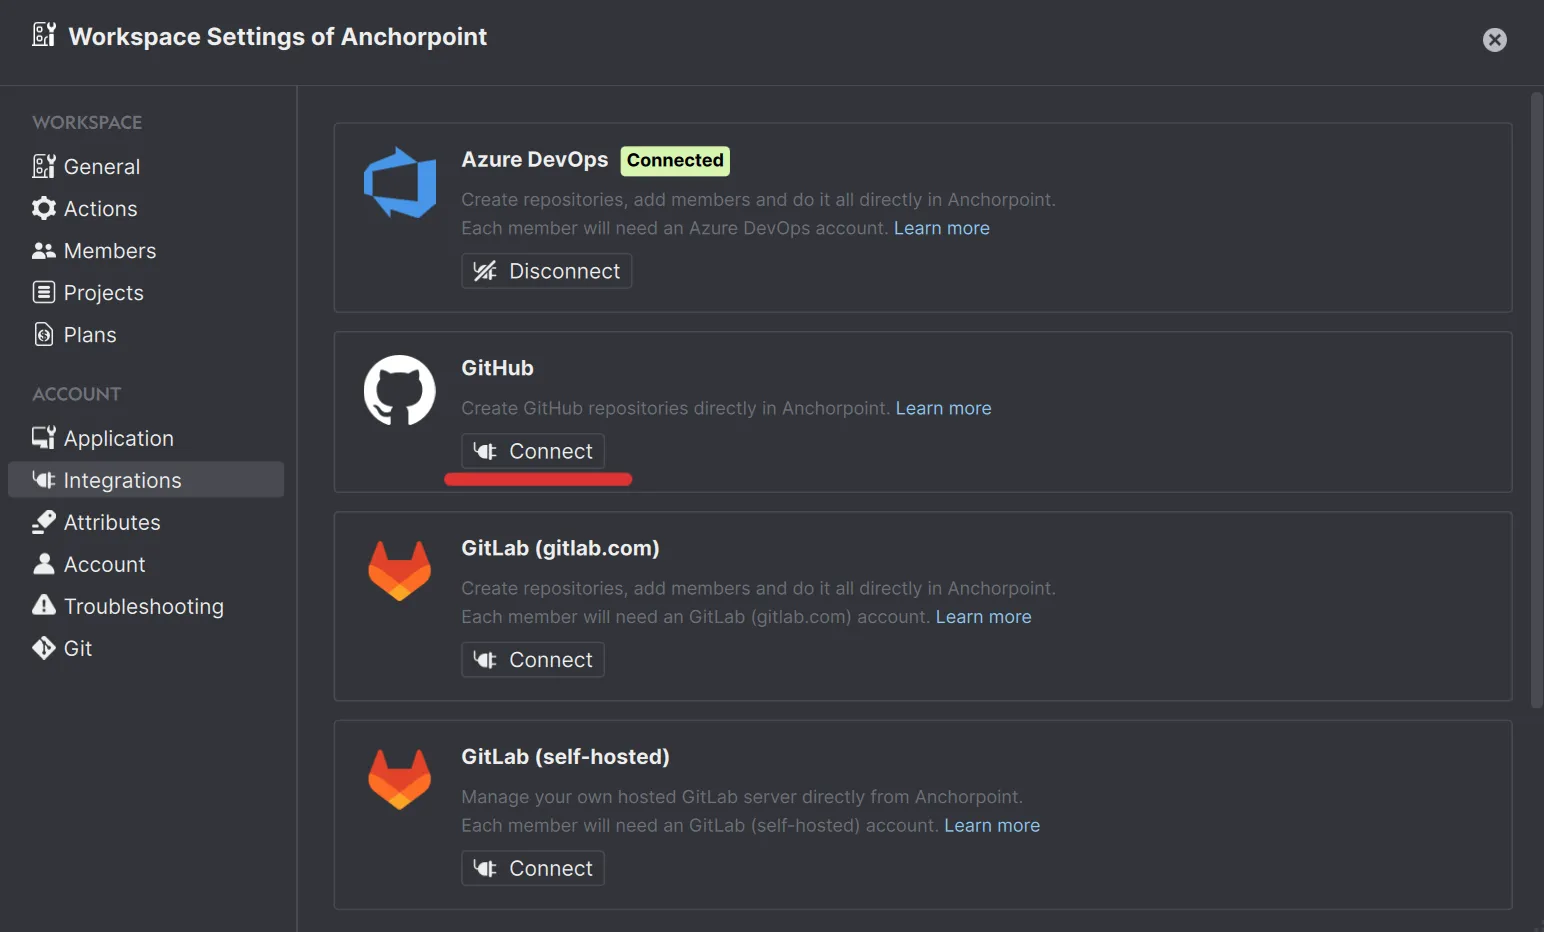
You must authorise both "Anchorpoint Software" and "Git Ecosystem" when asked. This gives Anchorpoint permission to create GitHub repositories in your account on your behalf. The final step is to test your integration, after which you should be ready to go, this is needed to be done only once.
If everything is fine, it should be marked as "Connected". You can close this popup now.
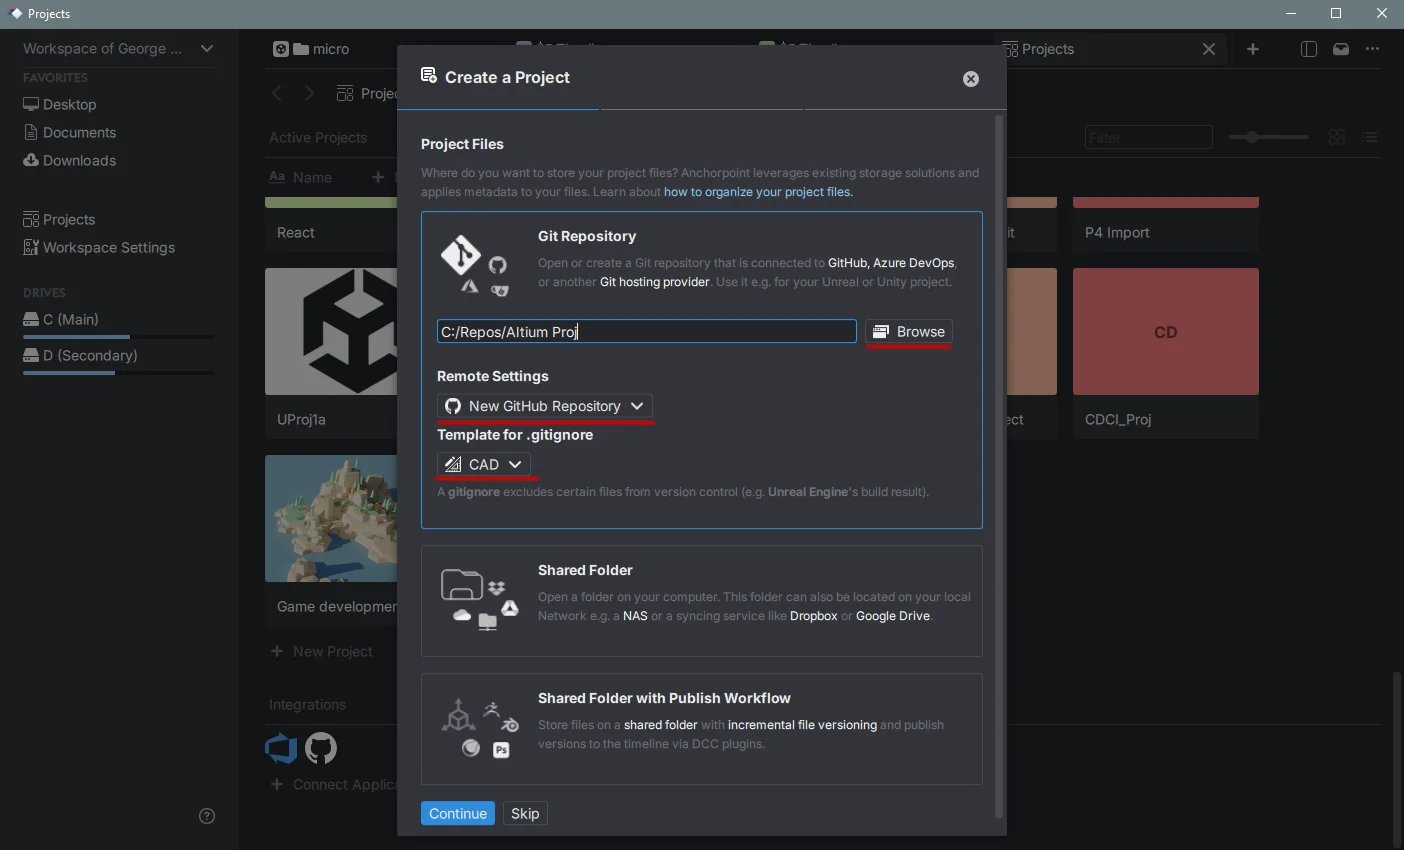
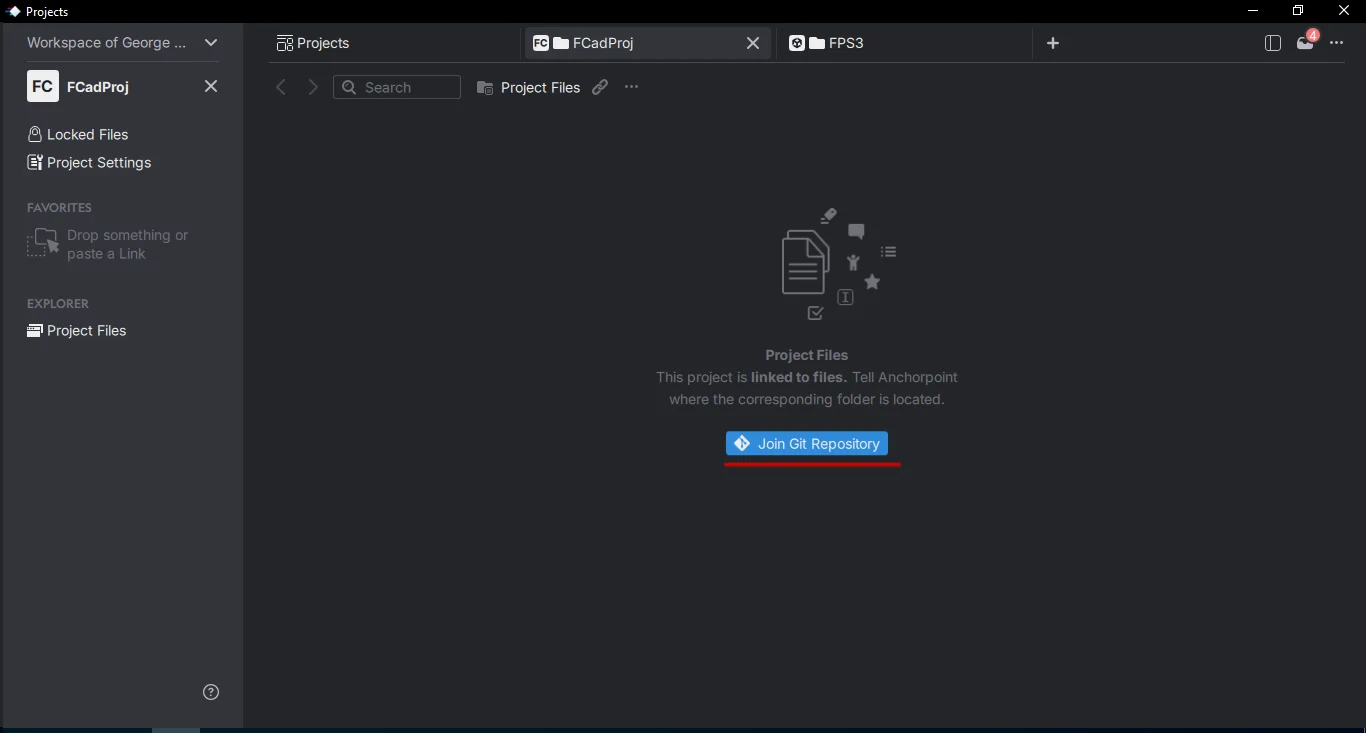
Open Anchorpoint and create a new project. Choose the local project folder on your hard drive. Once set up, Anchorpoint will automatically begin syncing with GitHub.
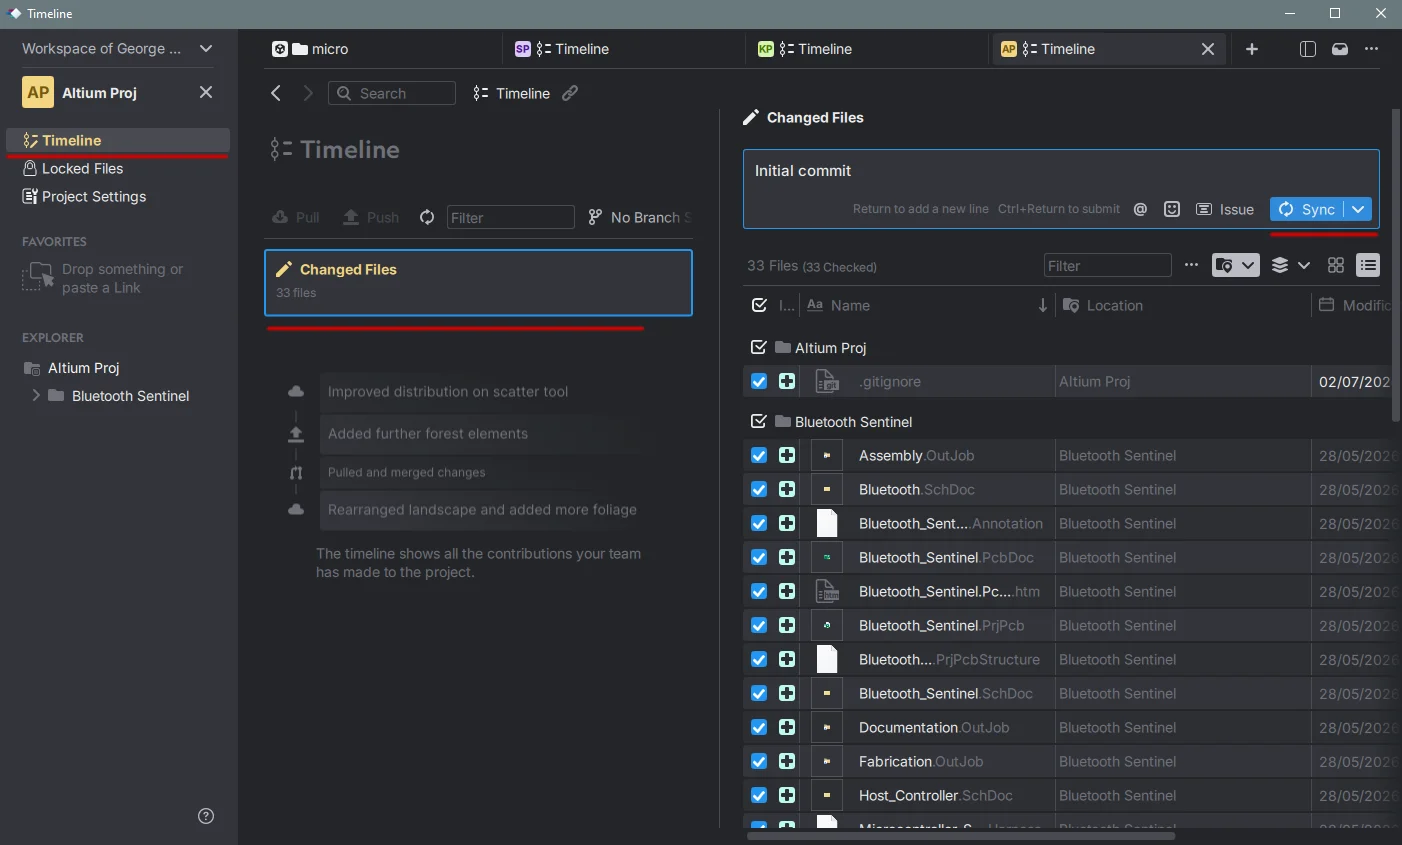
Uploading your Altium project is straightforward. When Anchorpoint detects uncommitted changes in your Altium folder, it will prompt you to enter a message, think of this as a checkpoint description. Once you click 'Sync', Anchorpoint pushes your files to GitHub using Git LFS, ensuring your large 3D assemblies are handled efficiently without slowing down your repository.
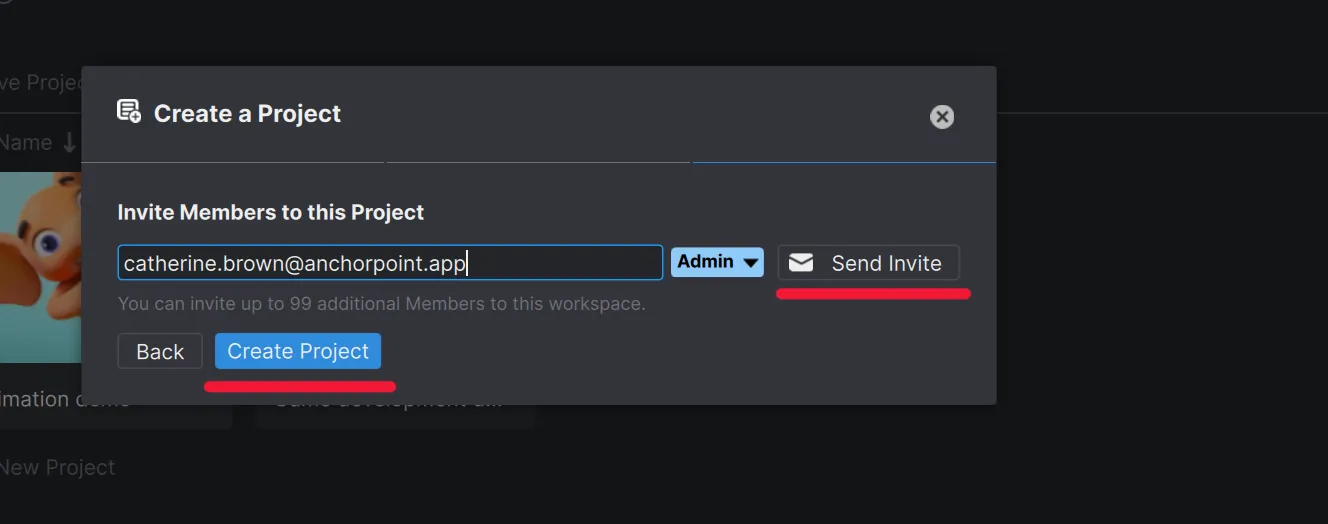
All team members must have active accounts for both GitHub and Anchorpoint. Once you invite them to the project, they'll receive a notification. They'll need to select an empty folder on their system, which Anchorpoint will use to download the project from GitHub.
This type of version control system simplifies the process: instead of saving multiple incremental files, you can work continuously and push updates directly to the cloud. Although it may take some time to adjust, this method enhances efficiency, keeps your file structure clean, and streamlines collaboration.
Your daily workflow becomes:
With each sync, Anchorpoint checks for updates from other team members, downloads them, and then uploads your latest changes.
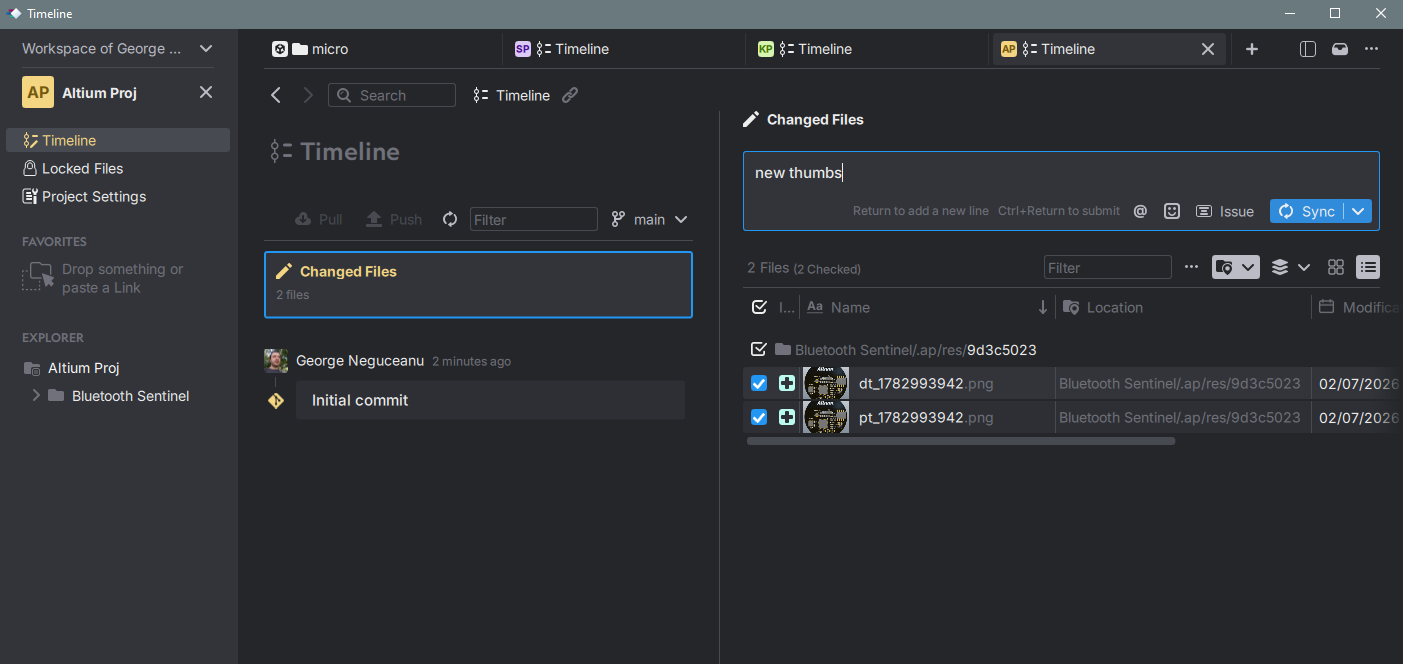
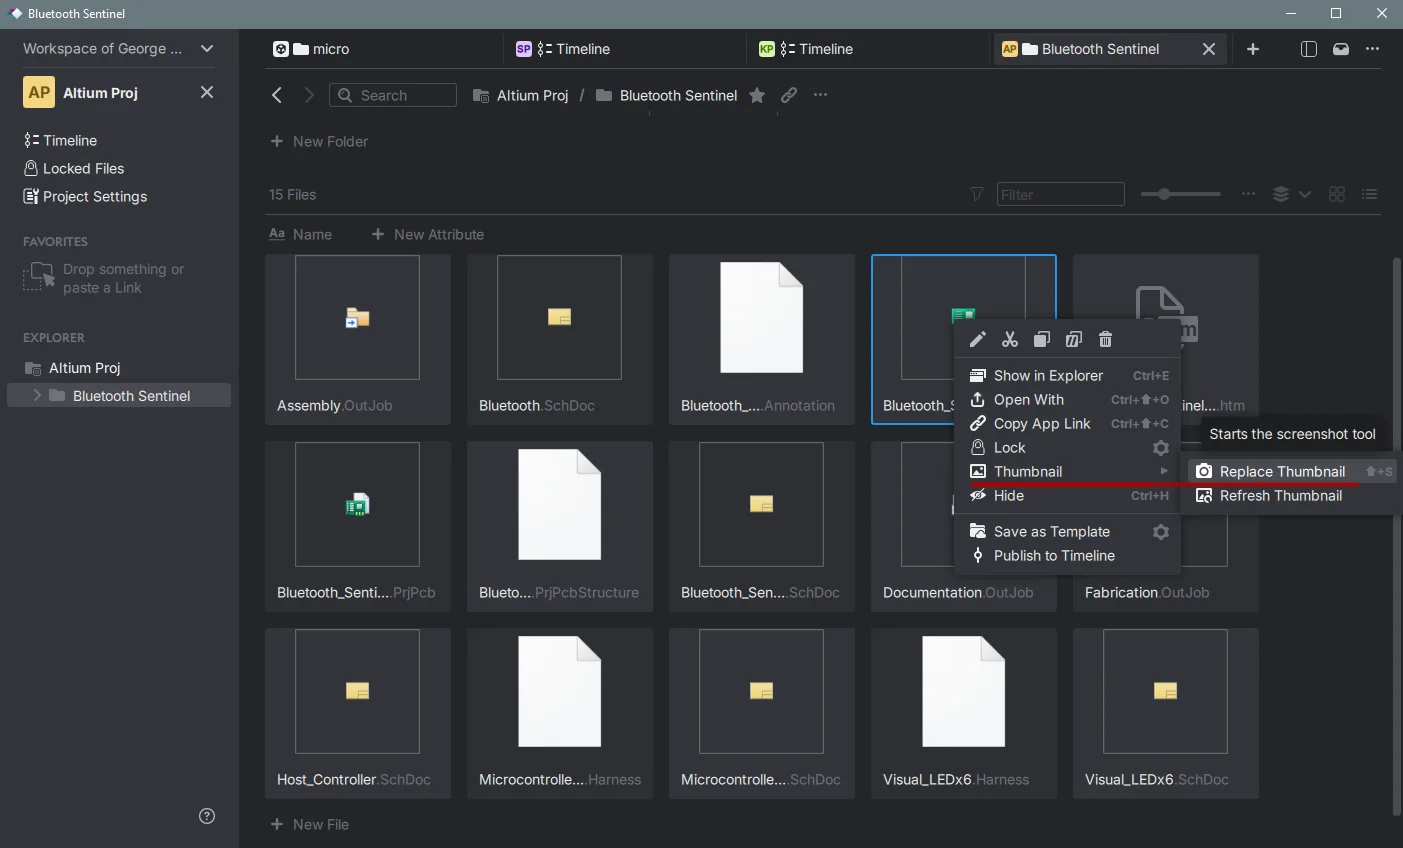
One of the many extra features of Anchorpoint is Custom Thumbnails, which allows you to right click on an art file and replace its thumbnail. To do this, first sync/commit your new or changed files, open the desired image or tool/engine viewport, switch to Anchorpoint, right-click the desired art file, and click Replace Thumbnails. Drag over the desired view and the thumbnail will be replaced. If you failed the first time, right-click on the file again, and select refresh the thumbnails, and start the thumbnail replacement again. Sync files when you are done.
Because Altium files are binary, they cannot be merged like traditional code. Anchorpoint resolves this with a lightning-fast file locking system that can secure up to 1,000 files in under a second. This ensures that when you are working on a specific layout, your teammates are blocked from editing it until you release the lock, eliminating accidental overwrites.
No, Anchorpoint removes the technical hurdles usually associated with large binary assets. It handles these files automatically without requiring you to spend hours writing custom configuration files or running terminal commands, providing a true plug-and-play experience right out of the box.
Yes, Anchorpoint is fully compatible with the entire Git ecosystem. It works seamlessly with GitLab, Azure DevOps, and self-hosted private servers. It also integrates with general cloud storage platforms like Dropbox and Google Cloud, ensuring you retain total data ownership without vendor lock-in.
The free tier natively supports local repositories and GitHub connections. If you need to evaluate advanced collaborative features or connect to alternative cloud platforms, you can initiate a 14-day team trial by opening your Workspace Settings, choosing Plans, and activating the trial option.